Sectors
Albatross
City of Giants
Commodore
The Farm
Frictionary
The Graveyard
Gunwales
Healing
Heart of Frank
House
Hulkamaniac
Karst Valley
Lipsmacker
Olympus
Pilgrimage
The Prow
The Ridge
Riverside
Snakebite
South Bank
Spiderweb Left
Spiderweb Right
Wastelands
Weathertop
Wind War
Zombotron/Rising TIthes
Wild West
1
2
3
4
5
6
7
8
9
10
11
12
13
14
15
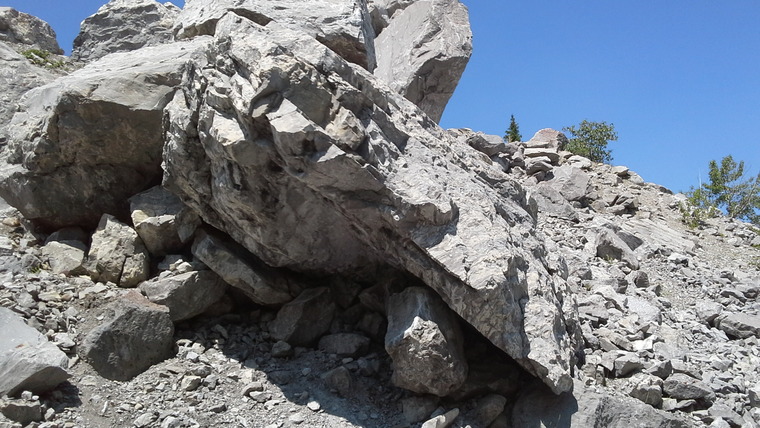
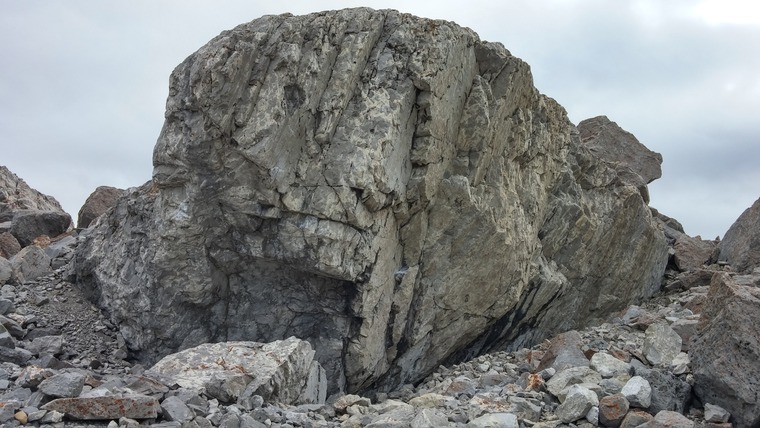
Wild West 1 / 10
  • V5. Stand-start at far left end of boulder, left-hand on lip, right-hand on crimp. Surf the high lip, all the way to the finish of "Railway". (FA Trent Hoover, 2015)
  • V6/7. Eliminate. Start as per "Wild West" but -rather than traversing left - head directly up through a pinch and set of twin-crimps. None of the large, juggy edges left of the start holds are used for hands or feet.
  • V6. Start as per "Wild West", and link into "Hang 'Em High".
  • V5. Sit-start using a good right-facing sidepull to the left of "Railway". Traverse up and left on good holds, then back a bit right to top out.
  • V11. Start as per "Railway". After the crux of "Railway", continue right, under the roof, to the start of "Gunslinger". Continue right, to join and finish as per "The Approved Beta".
  • V10. After the crux of "Railway", head left, immediately entering a second crux that ends with a dynamic move to the lip, followed by a slightly tenuous topout. Distinctly different, and harder, than the direct and right finishes!
  • V9/10. Sit-start low on two side-by-side sloping edges and a good heel-toe cam. Reach up to another crimp, then right to a diagonal rail, and then up to a long positive edge; head up and right along positive holds from here to top out left of the crack. Many moves, and very hard! (FA Devin Goodsman, 2007)
  • V10. After the crux of "Railway", finish straight up the blocky prow. More of an alternate finish than an independent line.
  • V8+. Sit-start in the same spot as "Gunslinger", matched on huge undercling in the crack. Head immediately left, under the bulge, using small edges and a sharp undercling. A tensiony crux gains the mid-point of "Railway". Finish as per that problem.
  • V10. Start, and climb, as per "Once Upon a Time in the West", but continue all the way left to finish on "Derailed".
  • V3. Sit-start, and climb the obvious crack. Move left to top-out. Watch for loose rock near the top.
  • V8. Sit-start using blocky edge in dihedral. Climb up and right. (FA Terry Paholek, 2013)
  • V7/8. Climb "Blazing Saddles", but once you gain the "Gunslinger" crack, continue left through face holds to join the finish of "Railway", without further use of the "Gunslinger" crack.
  • V1. Sit-start. Climb up the left side of the arete. Roll onto the slab to your right when your foot reaches the jug.
  • V6/7. Eliminate. Sit-start as per "East Arete", and traverse left through face holds to join "Gunslinger", without using the large shelf/ledge above.
Wild West
1
2
3
4
5
6
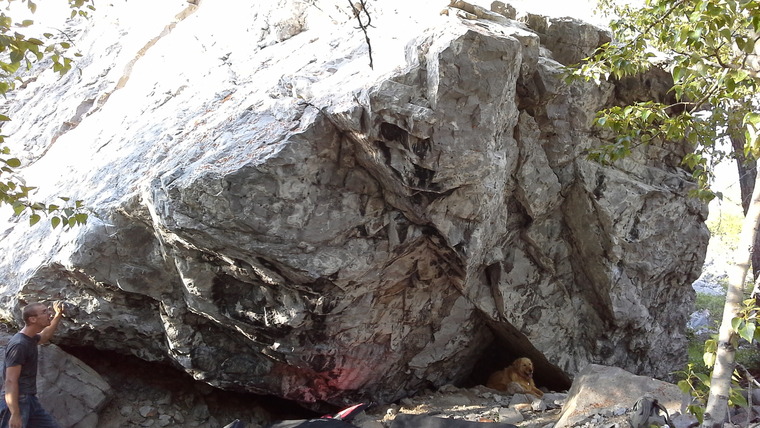
Wild West 2 / 10
  • V0. Easy highball slab. Keep an eye out for loose holds.
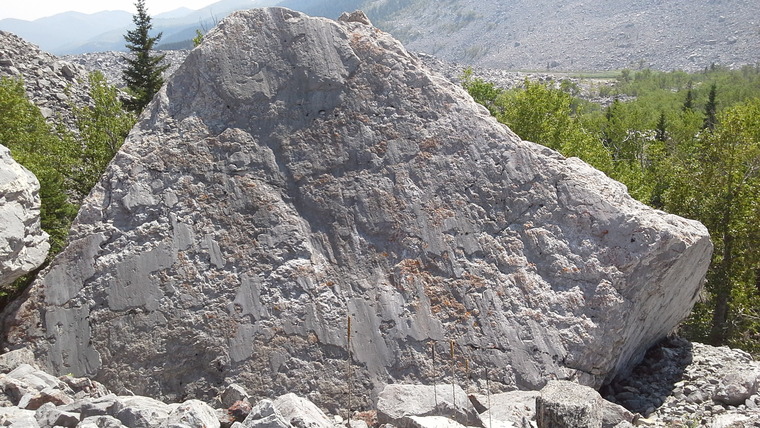
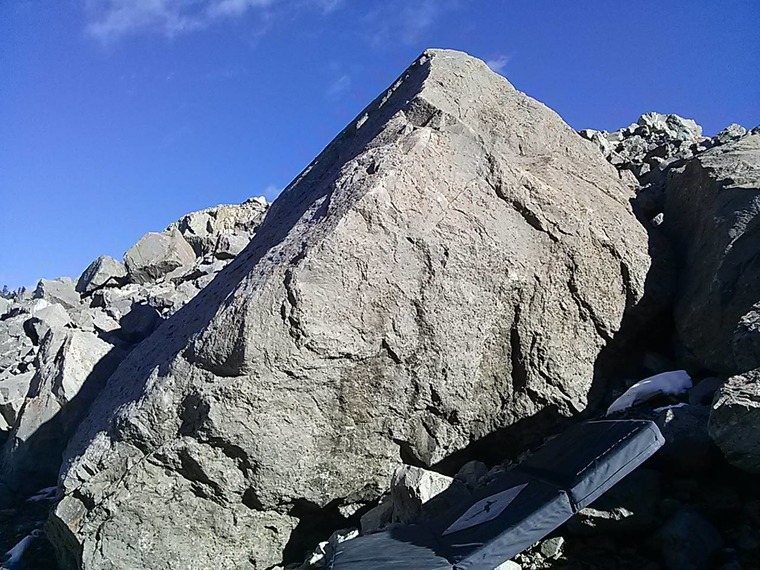
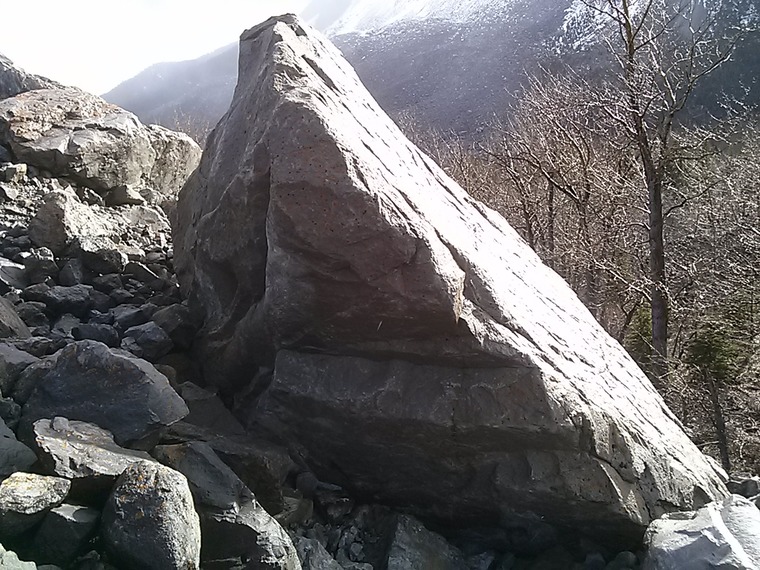
  • V0. On the north side of the Wild West (aka Railway) boulder is a huge slab. Climb up the middle of the slab, to the peak of the boulder. Very interesting bedding-plane reef features. Quality line. (FA Trent Hoover, 2013)
  • V0. Easy and somewhat shorter slab.
  • V0. Sit-start on lowest huge jug/ledge. Climb up on good holds to a thinner exit. Looks ugly, but has really fun moves!
  • V0. Sit-start on lowest huge jug/ledge. Follow jugs and the lip up and right, to the flat top of the boulder.
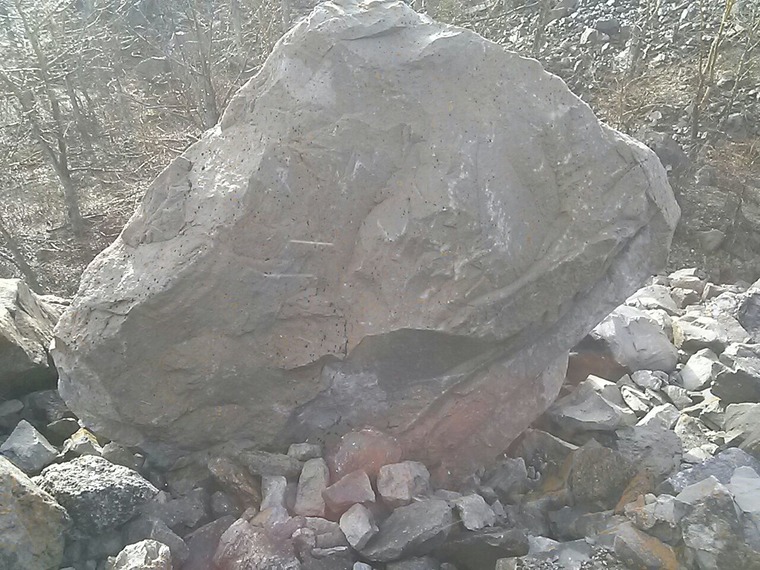
  • V6. In the middle of the smooth and slightly overhanging west face of the Wild West boulder are an incut edge and a left-facing sidepull. Use these to pull on, and reach to a thin edge up and right. What next? Dyno! (FA Kyle Marco, 2013)
Wild West
1
2
3
Wild West 3 / 10
  • V0. Sit-start on lowest huge jug/ledge. Climb up on good holds to a thinner exit. Looks ugly, but has really fun moves!
  • V0. Sit-start on lowest huge jug/ledge. Follow jugs and the lip up and right, to the flat top of the boulder.
  • V6. In the middle of the smooth and slightly overhanging west face of the Wild West boulder are an incut edge and a left-facing sidepull. Use these to pull on, and reach to a thin edge up and right. What next? Dyno! (FA Kyle Marco, 2013)
Wild West
1
2
3
4
5
6
Wild West 4 / 10
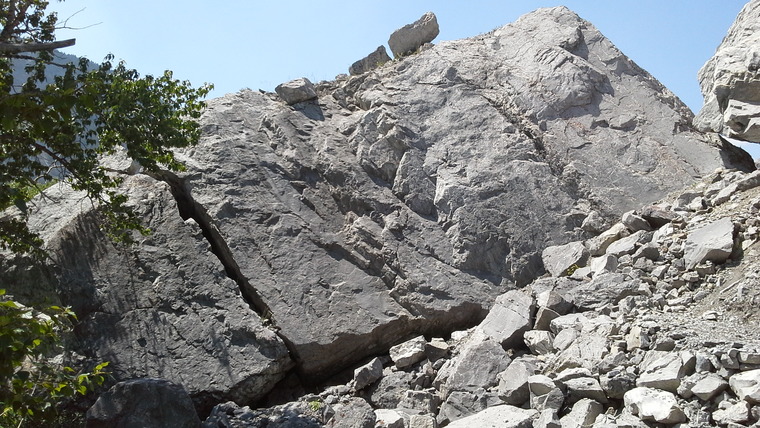
  • V0. A fun slab-to-bulge-to-slab problem located midway between the arete on the left, and the huge crack on the right. Trickier than it looks!
  • V0. Easy slab just left of the huge crack.
  • V4. Weird! Funky! Sit-start with the obvious mono in one hand, and a crimp in the other. Use trickery to pull/mantle/grunt onto the slab. Climb leftward up the dark-grey slab. Easier for those with flexible hips. (FA Kyle Marco, 2013)
  • V0. The blocky and featured slabby arete.
  • V0. Left of the bubbly, pocketed band, and right of the blocky, blunt slab/arete, is a relatively tall and smooth slab. One of the best tall slabs in the area!
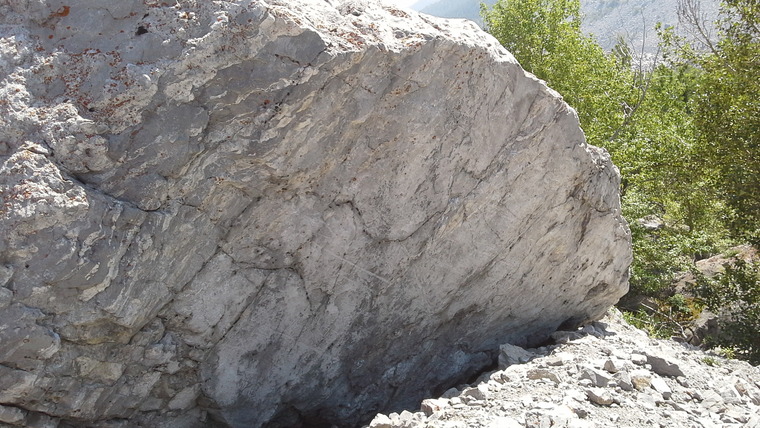
  • V0. The east face of the Wild West/Railway boulder is also a huge slab. Fun moves lead to a sloping shelf, and easier moves above. For full value on this highball slab, avoid any use of the arete on your right.
Wild West
1
2
3
Wild West 5 / 10
  • V1. Start on a triangular sloper about a foot above the lip. Rock over onto the sloping shelf to your left, and climb fun slopers on good rock above.
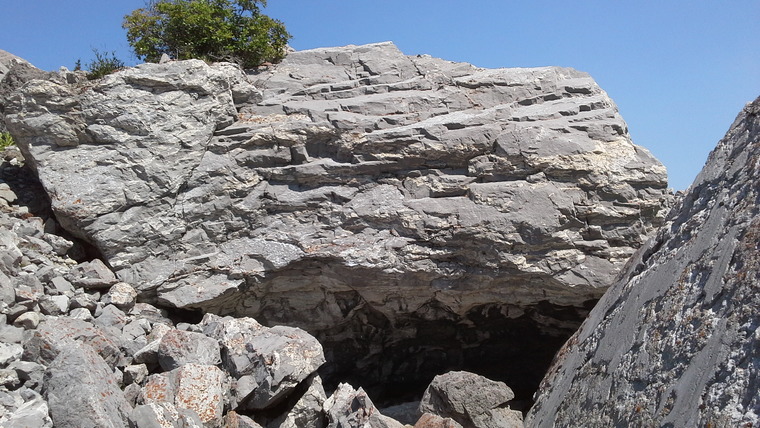
  • V11. Sit-start on juggy sidepull low in the black-stained cave above the Wild West boulder. Powerful moves lead directly out of the cave, and up the face above. One of Frank's hardest!
  • V1. Start on a good, slightly sloping edge at the lip of the cave, just left of the tunnel. A powerful start on big holds leads to easy moves on great rock above.
Wild West
1
2
3
Wild West 6 / 10
  • V5. Stand-start under protruding fridge-block, with left hand on lip sloper, and right hand low on arete. Pull on and compress your way up the imposing block.
  • V5. A great steep-arete problem on a boulder partially buried in the slope just east of the Railway boulder. Start on good pinches above the lip, and follows the arete up and left to a cruxy, blunt prow. Great movement! (FA Trent Hoover, 2013)
  • V4. Start as per "Marked for Life", but at the prominent fin hold, head directly up using a blocky hold, a hidden crimp, and lots of press trickery. Quality line! (FA Trent Hoover, 2013)
Wild West
1
2
3
Wild West 7 / 10
  • V0. Climb directly up the middle of the long, friction slab. Avoid the aretes, and top out at the apex.
  • V4. Sit-start at the far left end of the lip/arete, using low, juggy edges. Follow the lip up and right to its apex. (FA Mark Derksen, 2013)
  • V1/2. Sit-start under big scoop feature, using left hand rail, and right-hand edge (on the lip of the scoop). Make a couple of moves on edges, mantle into the scoop, and top out above.
Wild West
1
2
3
4
5
Wild West 8 / 10
Wild West
1
2
Wild West 9 / 10
Wild West
1
2
3
4
5
6
7
8
9
Wild West 10 / 10
  • V5. Sit-start using left-hand sloper and right-hand edge. Head up and slightly right, compressing the fridge-block above. (FA Trent Hoover, 2015)
  • V6/7. Sit-start as per "Sunspot", and traverse low and right, finishing up either "Eclipse" or "Shooting Star".
  • V8. Start on obvious jug in corner, and traverse left. A tricky sequence turning the corner leads to a few tough compression moves linking into "Sunspot". (FA Morgan Dunnet, 2015)
  • V5. Start as per "Blood Moon". Move left to the sloping slot, then head up the corner above. (FA Trent Hoover, 2015)
  • V1. Start as per "Eclipse", but follow jugs straight up and then a bit left to top out over "Eclipse". (FA Trent Hoover, 2016)
  • V0/1. Start as for "Shooting Star", but follow juggy ledges up and right to a tricky topout. (FA , 2016)
  • V3/4. Sit-start with left-hand sloper/pinch, and low right-hand edge. Climb directly up to flat jugs, topping out as per "Hurricane Power" and "Shooting Star".
  • V1/2. Sit-start matched on juggy incuts in the alcove. Climb straight up. (FA ?, 2015/6)
  • V2. Start as per "Gale Force", but head immediately left to a good incut. From here, follow good holds up to a tricky lip encounter. (FA ?, 2015/6)