-
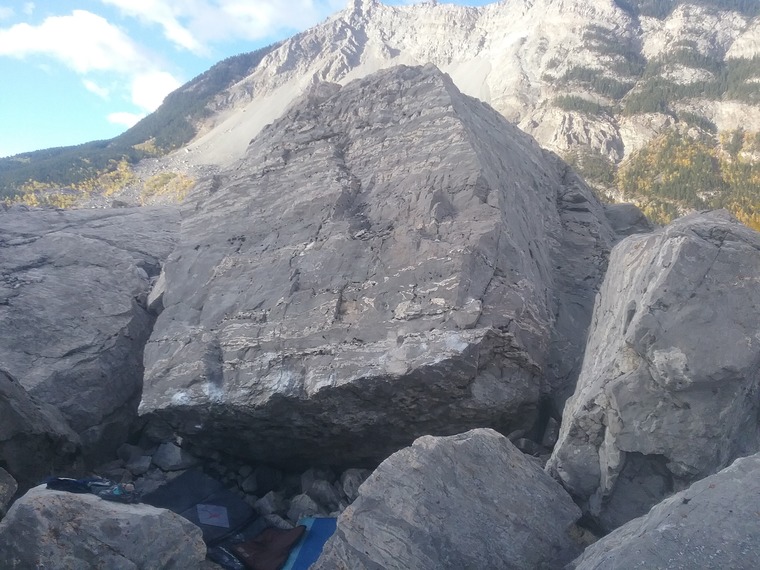
*see Beautiful Struggle topo for details.
-
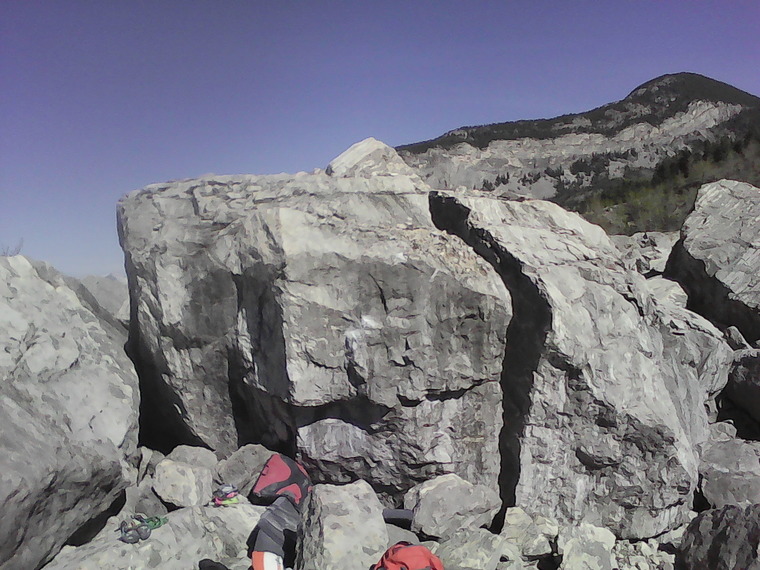
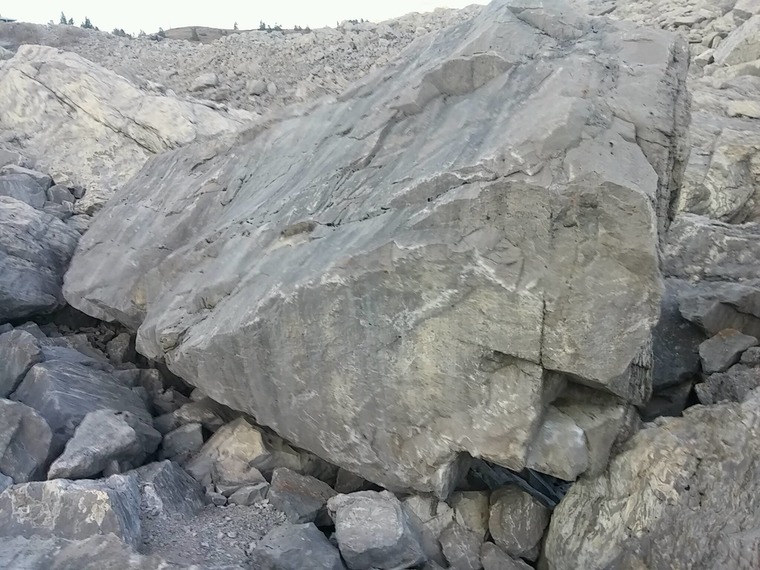
V8. Sit-start with right-hand on lowest obvious sidepull crimp outside cave, and right-hand on a small, slick opposing crimp in the cave. Head up to lip, and move right to top out.
-
V2. Just north of the Beautiful Struggle boulder. Sit-start in a small pit between two rocks, using crimps at head-height. Move up using edges, and the arete on your right. (FA Dan Anhorn, 2016)
-
V2. Sit-start under far left end of slopey lip. Move up and right, along the lip, topping out at the peak. (FA Kyle Marco, 2016)
-
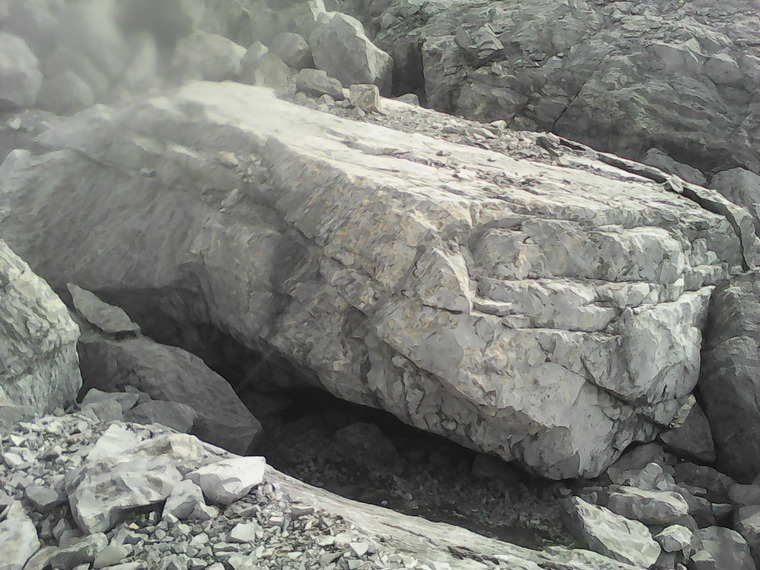
V3. Sit-start, matched on huge, obvious shelf. Climb the left side of the arete above. (FA Kyle Marco, 2016)
-
V4. Sit-start deep in the overhang. Climb up right side of arete, using blocky features. Watch for loose rock and a poor landing. (FA Evan Erickson)
-
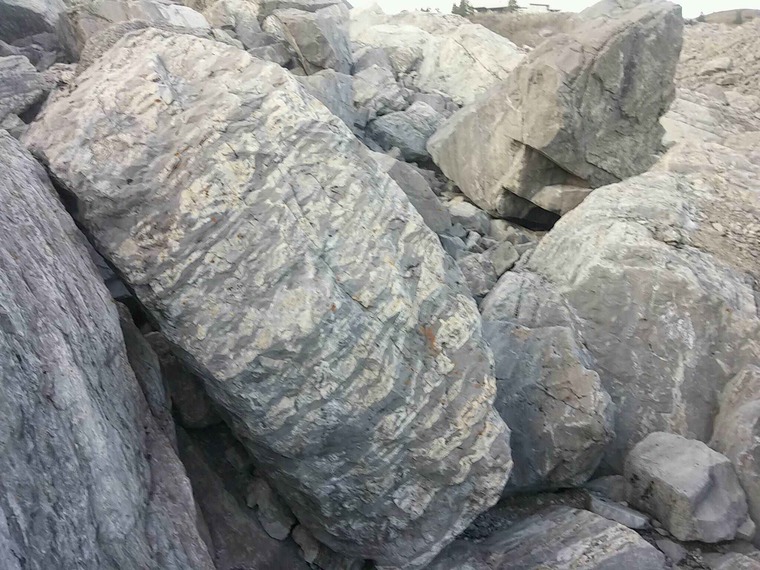
V8. Sit-start with left-hand on arete, and right-hand on horizontal crimp. Climb the right side of the arete.
-
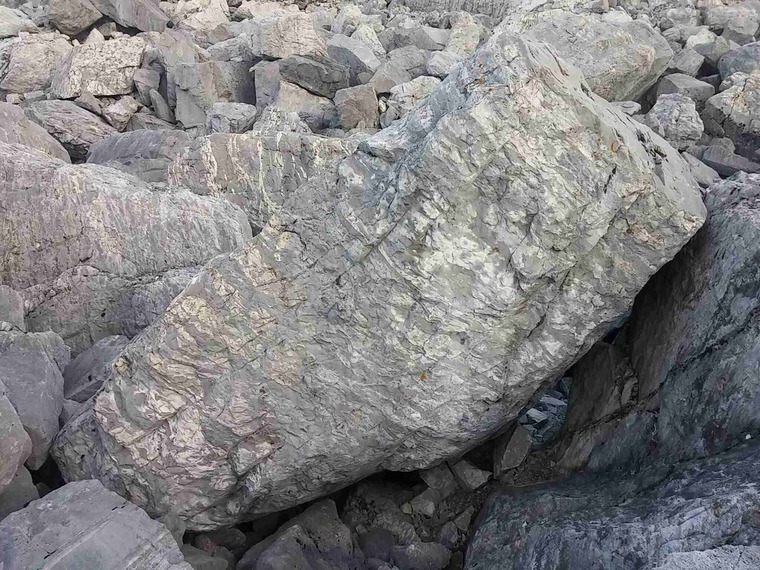
V5. Sit-start, with left-hand at the top of a sidepull rail in the cave, and right-hand on a low incut outside the cave. Climb up and left.