Sectors
Albatross
City of Giants
Commodore
The Farm
Frictionary
The Graveyard
Gunwales
Healing
Heart of Frank
House
Hulkamaniac
Karst Valley
Lipsmacker
Olympus
Pilgrimage
The Prow
The Ridge
Riverside
Snakebite
South Bank
Spiderweb Left
Spiderweb Right
Wastelands
Weathertop
Wind War
Zombotron/Rising TIthes
Healing
1
2
3
4
5
6
7
8
9
Healing 1 / 3
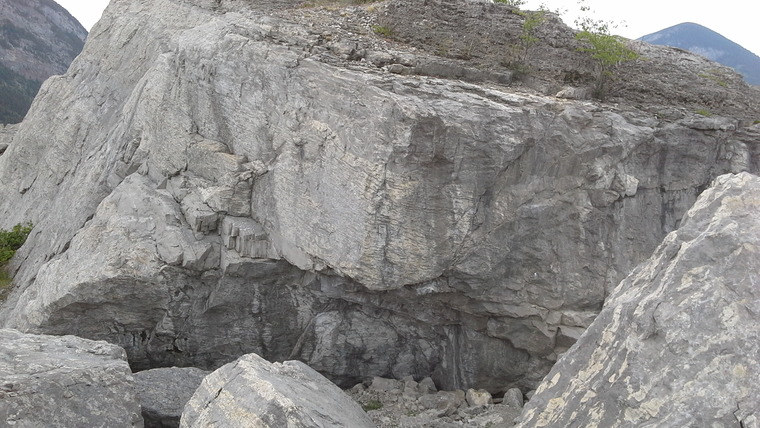
  • Sit-start on diagonal rail sidepulls just right of arete. Follow the crack left, then climb the arete. "Origins Extension" (V1) continues following the crack leftwards to top out around the arete.
  • Climb the obvious, sharp arete. Watch for loose rock at all times in Frank; a large block fell off this problem in 2010.
  • Sit-start as per "The Sage". Traverse right and finish on either "Jahealy" or "Easy Healing".
  • Sit-start with a high left handhold and a very low right. Climb the crimpy face and left-leaning seam just right of "Crack Attack". The other boulder (the other side of the "crack") is out, of course.
  • Start with sidepull/pinch for left hand, and flat crimp for right hand. Climb the face above, through sloping holds. (FA Mark Derksen, 2015)
  • Sit-start with right hand on a good crimp, and left on a small, sloping edge. Climb up through small edges to a good sidepull, and top out above. (FA Evan Erickson, 2007)
  • Start at the low right side of the flake undercling, climb up and left along the flake until it thins out, then head straight up. Alternatively, go straight up from the very start at the same grade (Jahealy direct)
  • V4ish. Start as per "Jahealy", but move up and left into "IPotSH". A good variation.
  • Climb the tall, juggy face immediately left of - and using - the prominent arete. Beware the tricky mantle!
Healing
1
2
3
4
5
Healing 2 / 3
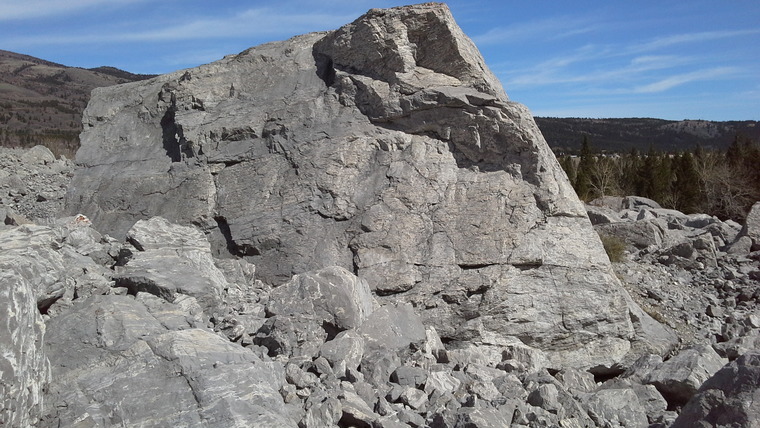
  • V6. Sit-start at far left end of lip. Traverse right, along lip, eventually joining "Healing Arete", and finishing on that problem. (FA Marcus Norman)
  • V5. Sit-start under left end of roof, matched on left-facing sidepull. Traverse right, under roof, to gain a large, blocky jug, under the right side of the arete. From here, climb up the right-side of the arete.
  • V3/4. Start, and climb, as per "Healing Arete". From the blocky jug, continue right, along juggy rails. (FA Trent Hoover)
  • V7/8. Start as per "Healing Arete", but move up and right, gaining arete and climbing up the left side. Slightly eliminate - the large shelf up and left of the start is out.
  • Start as per "Healing Arete", but head straight up the face left of the arete. The name is a misnomer, because you don't actually use the arete. A hold may have broken on this problem.
Healing
1
2
3
4
5
Healing 3 / 3
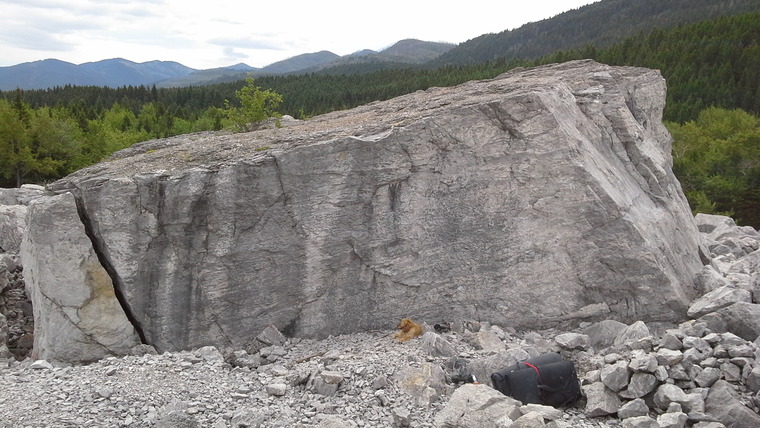
  • V0. Step onto slab, and climb to an overlap. Find the large undercling, and use this to reach a jug on the arete. Top out above. (FA Trent Hoover, 2013)
  • V5. Sit-start under the left end of the cave/overhang, using a right-hand crimp and a left-hand sloper. Climb up and right through the middle of the blank face.
  • V4. Sit-start using good right-hand crimp, and smaller left-hand crimp beside. Traverse left along rail/line of small edges, until you can mantle onto a sloping shelf. From here, head up and right to a protrusion/shelf on the arete. Turn the arete, and top out the slab. (FA Trent Hoover, 2015)
  • V4. Sit-start as per "The Sickening", but climb directly up the left side of the arete.. (FA Mark Derksen, 2013)
  • V0. Sit-start under far right end of overhang/cave, matched on flat rail under arete. Make a few moves up the arete, before rolling right onto the slab.

There are 2 routes that have not yet been drawn on a topo image. See full list of routes from Healing .