-
V8. Sit-start as per "Evil Eye", then traverse right, all the way over into the finish of "Four-Inch Pinch".
-
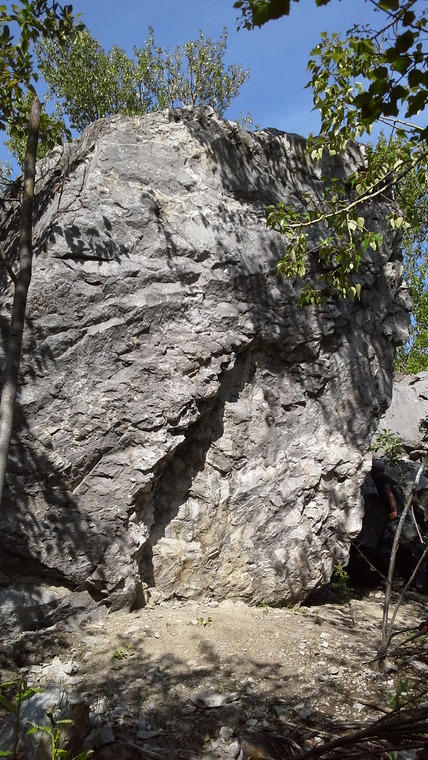
V2/3. Sit-start using pocket at base of arete. Climb directly up the tall arete. For "Pocket Arete" (V2), climb to the jug pockets at mid-height, and drop-off; for "Evil Eye" (V3), continue to the top. (FA Trent Hoover, 2013)
-
V4/5. Start as per "Evil Eye". From the jug pockets at mid-height, make a long move right to the hidden slot-jug on "Communist". From here, finish on "The Communist" (or continue right and finish on "The Socialist", for a slightly harder variation).
-
V6/7. Sit-start using a huge right-facing sidepull. Climb up the middle of the face. One of The Slide's very best problems. (FA Kyle Marco, 2014)
-
V7/8. Start, and climb, as per "The Communist". At mid-height, move right to gain mini-arete, and top-out. (FA Evan Erickson, 2014)
-
V5. Classic! Start on large, juggy hold just left of the sloping ledge, then head up and left on edges. A victory jug awaits! (FA Trent Hoover, 2013)
-
V7/8. Start as per "Aftermath". Make a low, shouldery traverse left and finish up "The Communist".