Overview
Shipley Glen
by
LuMi
66
Yorkshire, United Kingdom
Free
Overview
Topos
Map
Photos
Access
Authors
Mouse Wall Area (Tiger Wall)
Map
Free topo
List
Sectors
All sectors
All routes on Shipley Glen
Black Roof
4 routes on 2 topos
Christine's Horror Area
10 routes on 2 topos
Diamond Arete (Kia-Ora Wall Area)
4 routes on 2 topos
Dog's Dinner Area
5 routes on 1 topo
Easy Slab
4 routes on 1 topo
Fearnought Area (Chipped Hold Area)
17 routes on 3 topos
Fools Mirror
7 routes on 1 topo
Forgotten Slab (CD Boulder 22a)
6 routes on 3 topos
Glen Arête Area (YMC Wall)
29 routes on 6 topos
Glen Campus Area (Barbeque Rib/Low Roof)
19 routes on 4 topos
God is Love
4 routes on 2 topos
Good Evans Area
13 routes on 4 topos
Green Wall (Ken's Arete)
9 routes on 2 topos
JD's Traverse Block
2 routes on 1 topo
John Area
15 routes on 3 topos
Kia Ora Wall
32 routes on 4 topos
Leaper Roof
16 routes on 2 topos
Longy's Traverse
1 route on 1 topo
Low Block (Christine's Horror Area)
5 routes on 1 topo
Manson's Must (Wood's Wall)
11 routes on 3 topos
Millstone Grit
14 routes on 3 topos
Monkey Business
1 route
Mouse Wall Area (Tiger Wall)
24 routes on 6 topos
Mystery Area
6 routes on 2 topos
Nosey Parker Area
33 routes on 4 topos
Phantom Area
11 routes on 3 topos
Red Baron Area
23 routes on 2 topos
Red Wall Area
23 routes on 4 topos
Rupert Bear
13 routes on 4 topos
Silver Birch Arete
2 routes on 1 topo
Sleeping Beauty
2 routes on 1 topo
Square Face
6 routes on 1 topo
The Green Traverse
1 route on 1 topo
TweedleDee and TweedleDum
2 routes
Woodstock Buttress
12 routes on 2 topos
53.846818, -1.80282
1
2
3
4
5
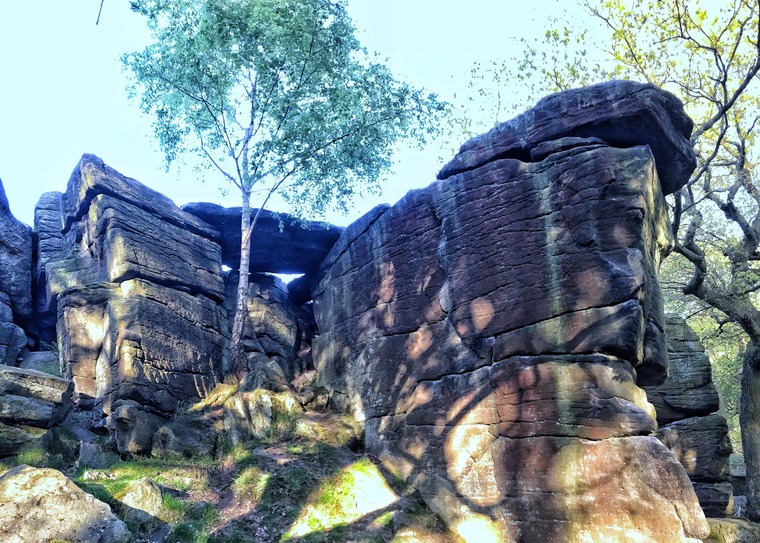
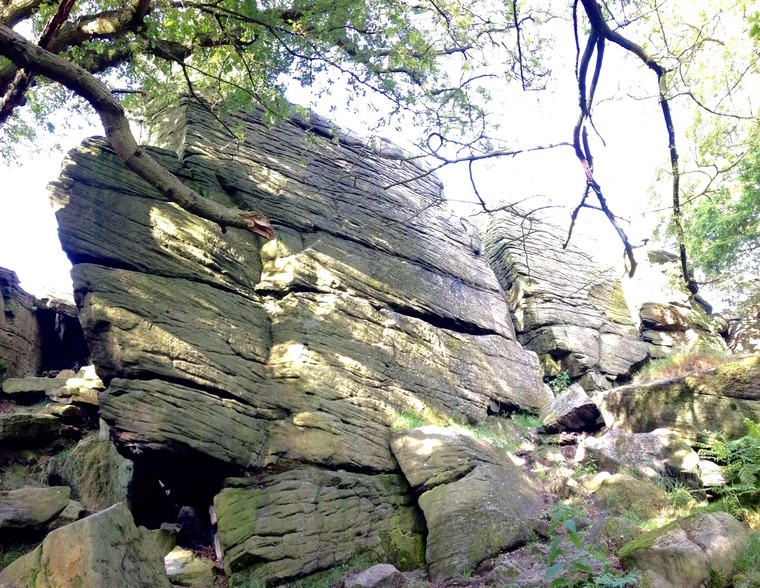
Mouse Wall Area (Tiger Wall) 1 / 6
1
Pirouette Roof, 5+
Eliminate - climb up an dover capping roof without using the side walls. CD B22 P1
2
Pirouette Left, 4
Tiny flakes and the chipped hold to the left of Pirouette. CD B22 P3
3
Pirouette, 5
Climb the flake in the centre of this wall. CD B22 P4
4
Pirouette Sit, 5+
SDS from lowest holds.YMC Vol.2 P199 (a)
5
Woolman, 5+
The left arete of the tower - make commiting moves up the front to trend left near the top to finish.
1
2
3
4
5
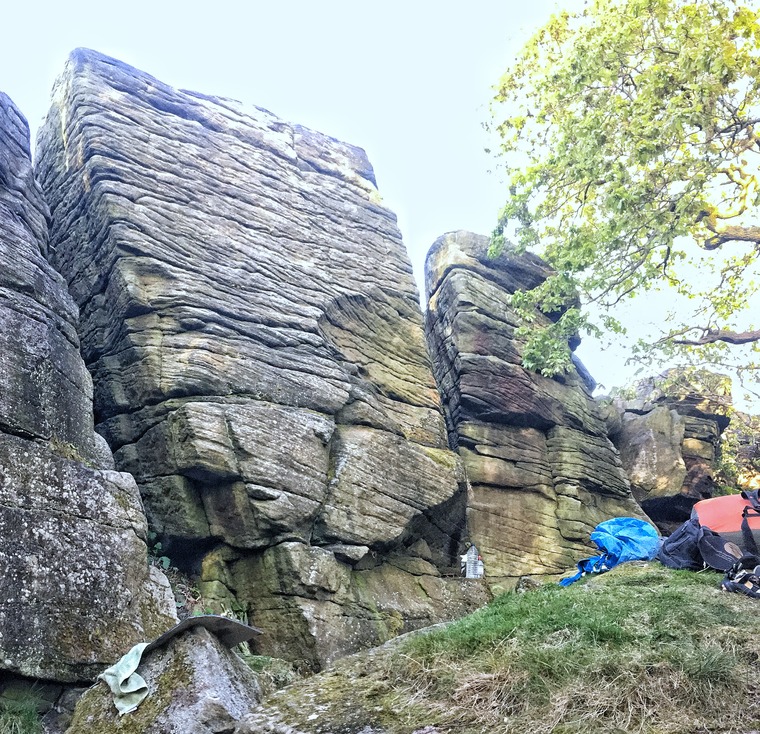
Mouse Wall Area (Tiger Wall) 2 / 6
1
Pirouette Traverse, 6A+
L-R Eliminate traverse from under capping roof to finish up the right arete (LHS of Wool Man). CD B22 P2
2
Pirouette Left, 4
Tiny flakes and the chipped hold to the left of Pirouette. CD B22 P3
3
Pirouette, 5
Climb the flake in the centre of this wall. CD B22 P4
4
Pirouette Sit, 5+
SDS from lowest holds.YMC Vol.2 P199 (a)
5
Woolman, 5+
The left arete of the tower - make commiting moves up the front to trend left near the top to finish.
1
2
3
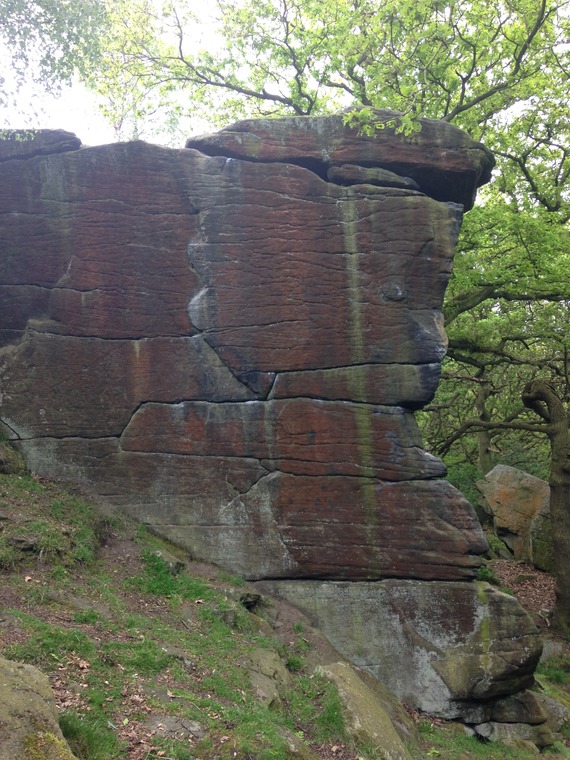
Mouse Wall Area (Tiger Wall) 3 / 6
1
Woolman, 5+
The left arete of the tower - make commiting moves up the front to trend left near the top to finish.
2
Woolman Right, 6B+
The right hand arete of the tower is no easy feat - climbed dynamically from the flake to the break to a sketchy top out. CD B22 P6
3
Flake Crack, 3
The crack and slab line next to Woolman Right. YMC Vol.2 P202
1
2
3
4
5
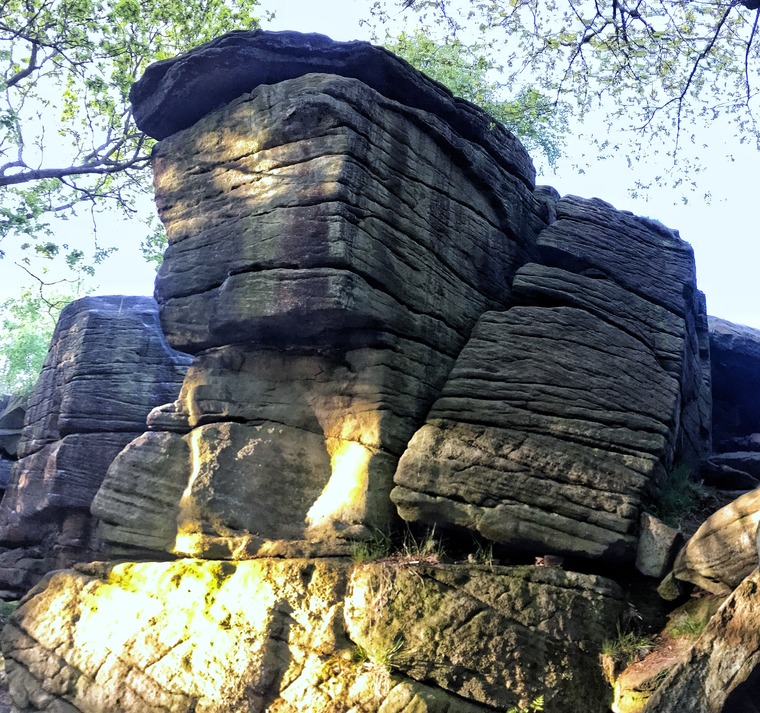
Mouse Wall Area (Tiger Wall) 4 / 6
1
Tiger Wall, 5
The Wall on good edges to the right of the graffiti. CD B22 P7
2
Shoddy Wall, 3+
Layback/jam up the crack line
3
Mouse Wall Traverse, 6A+
Traverse along lowest break rightward into the arete - finish up its RHS CD B22 P10
4
Mouse Arete, 5+
LHS of right arete. CD B22 P11
5
Mouse Wall, 6A+
Starting low down to the right, long lock offs through the breaks bring about the top. CD B22 P9
1
2
3
4
5
6
7
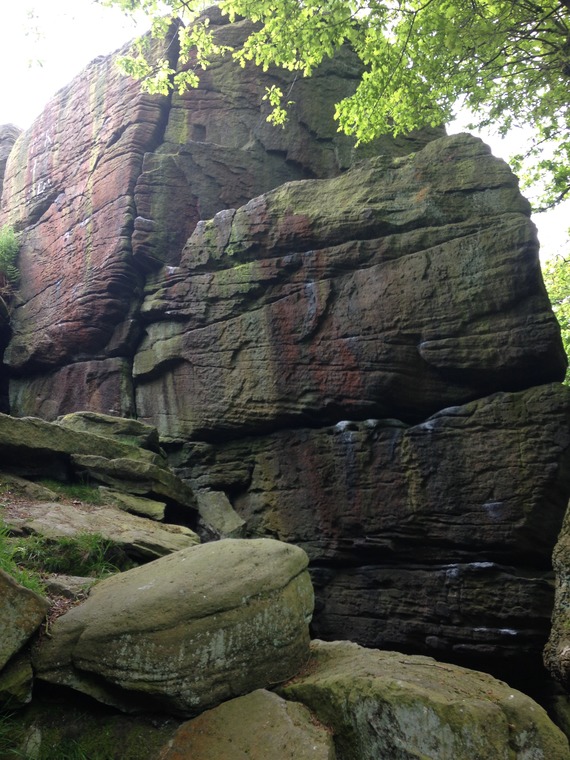
Mouse Wall Area (Tiger Wall) 5 / 6
1
Mouse Wall Traverse, 6A+
Traverse along lowest break rightward into the arete - finish up its RHS CD B22 P10
2
Green Rib, 4
3
Easy Groove, 3+
4
Diagonal, 3+
5
Easy Wall, 3+
6
Easy Wall Right Arete, 3
CD B22 P15
7
Easy Chimney, 3
1
2
3
4
5
6
Mouse Wall Area (Tiger Wall) 6 / 6
1
Easy Chimney, 3
2
Easy Route, 3
CD B22 P16
3
Easy-Ish Arête, 4+
4
Easy-ish Crack/Chimney, 3
5
Easy Enough, 5
The left arete of this wall without using back wall. CD B22 P18
6
Not So Easy, 3+
Climb the centre of the wall to a not so easy finish