-
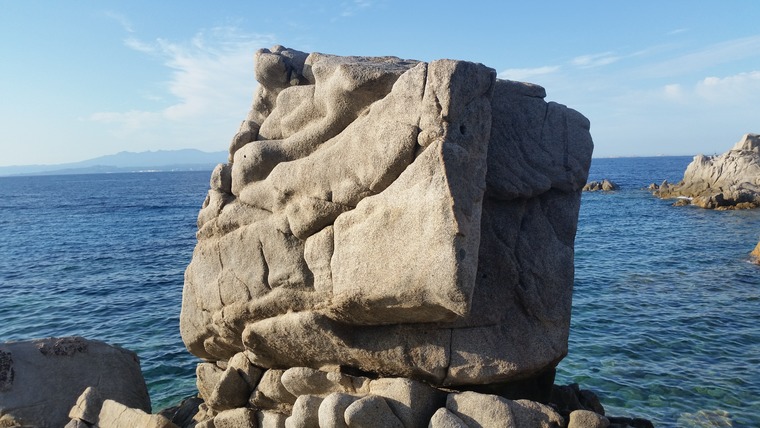
Start as for 100% Cod and then take an early exit up through good holds. No feet beneath the start holds once you have pulled on.
-
From the low point, up to the highest break and traverse to finish as for Fishfinger traverse.
-
From the Low point head up into the thinner break. then traverse to join Fishfinger traverse. No feet beneath the start holds once you have pulled on.
-
From the low point traverse the obvious low breaks through good holds.
-
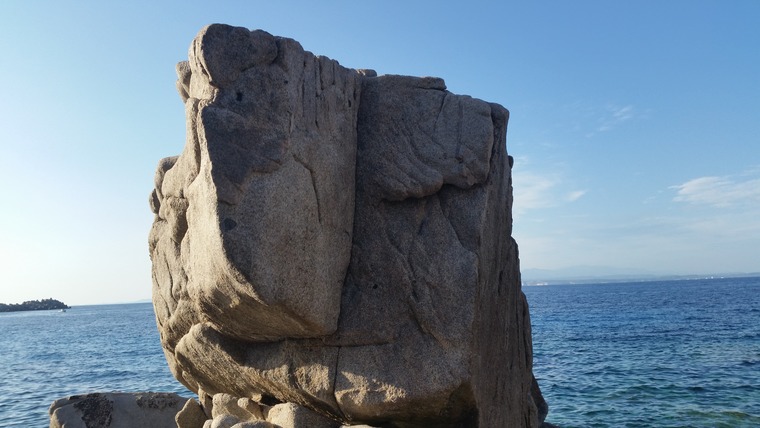
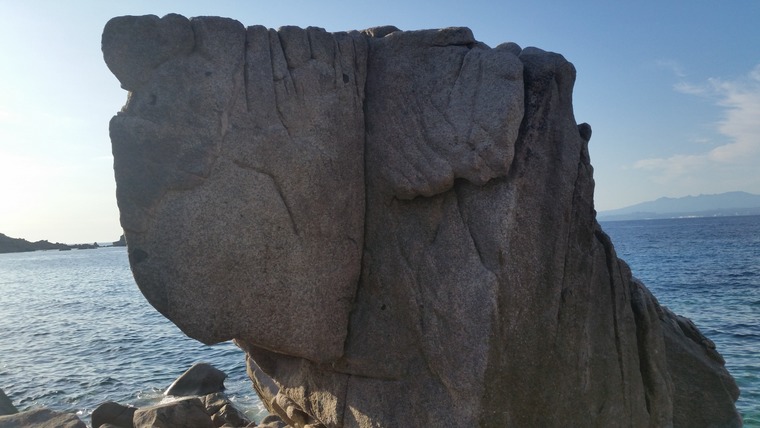
Pull on the LHS of the arete with a higher right hand and a low left. A hard first move leads to easier ground. No feet out left.
-
Up the wall between the crack and the arete, not using either, but making use of the massive flake.


