Sector #1
1
Sector #1 1 / 5
Sector #1
1
2
3
4
5
6
Sector #1 2 / 5
Sector #1
1
2
3
4
5
6
Sector #1 3 / 5
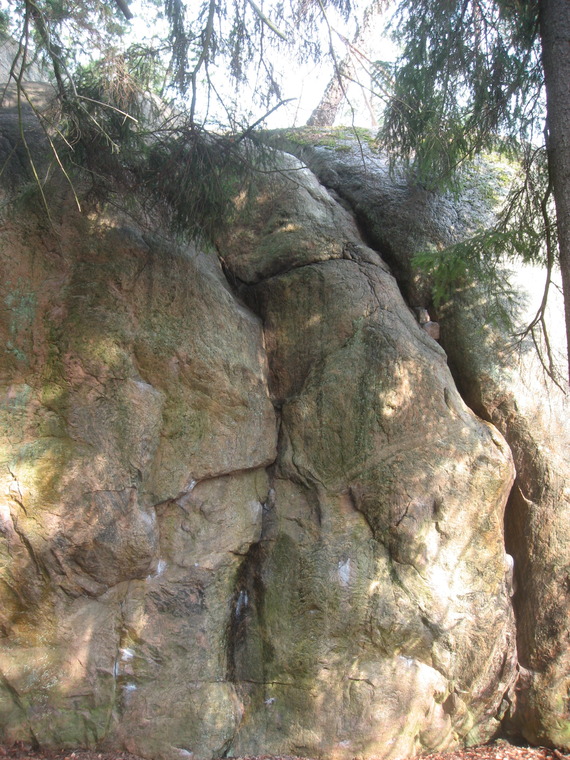
  • Linkup of Arete and Super fly. Sit start under arete: Left hand on small sidepull to left, right hand on sidepull to the right. Top out Super fly.
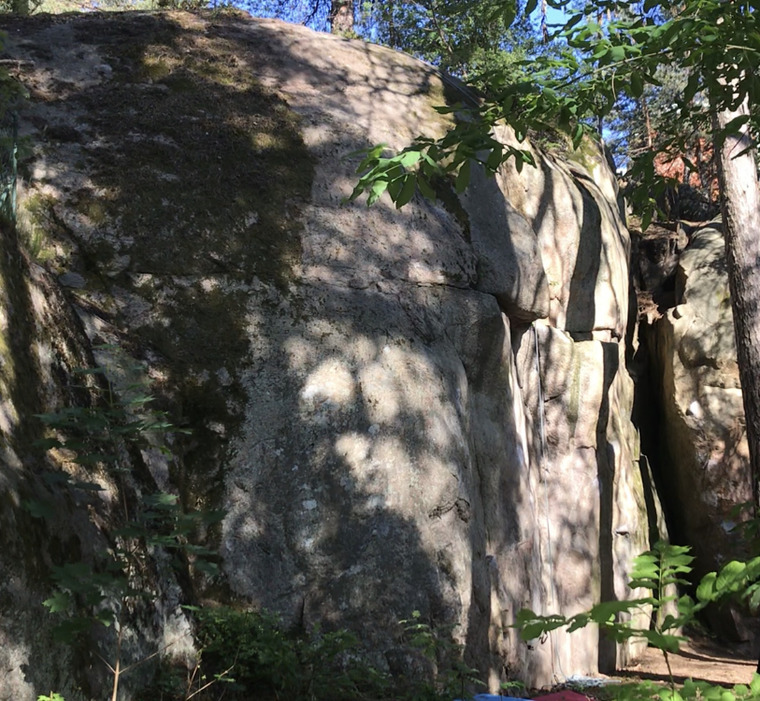
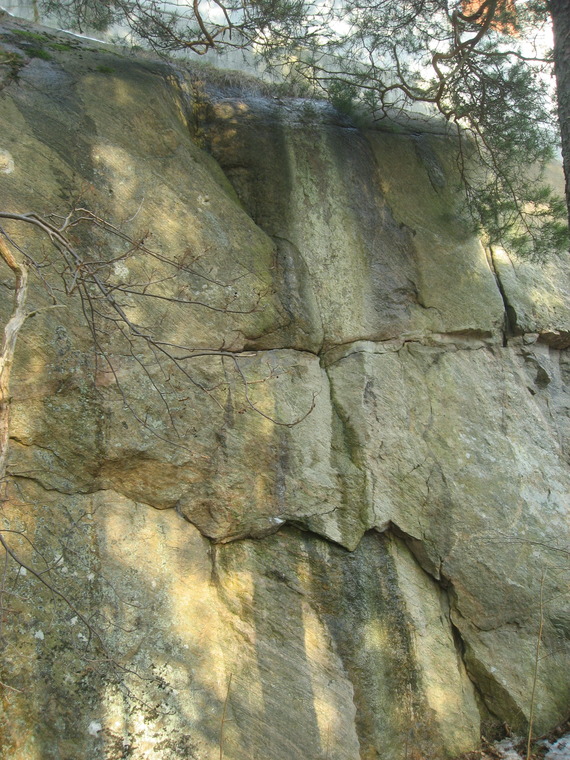
  • Sitstart under the red arete to the left of the crag. There are 2 other versions: 1. Brizmolizer, 7B - Left hand on a sidepull, right hand on the shelf under the aréte. 2. New 7B, start both hands on the fat hand hold low down on "Brizmolizer" adds a whole new variant - a bit harder than the above but nice.
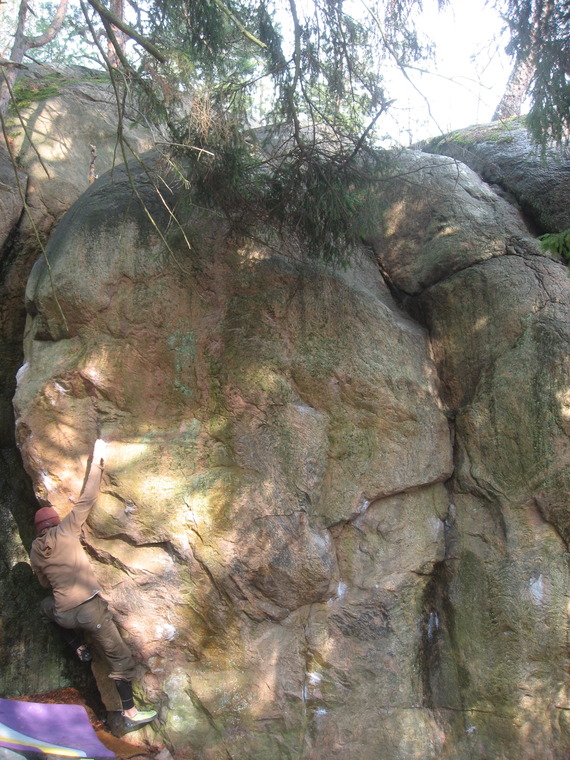
  • samma vh crimp som Super fly men hh på jugge.
  • Start i Superfly sedan vänster in i Arêten.
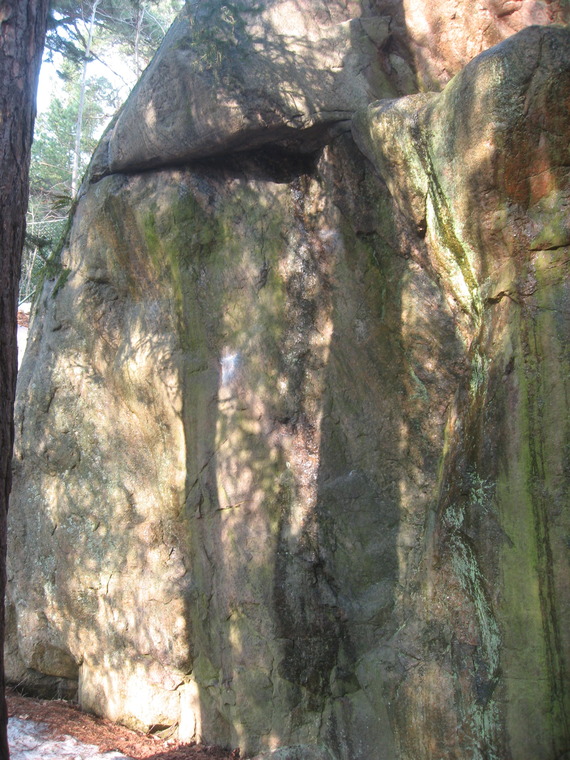
  • Sitstart, 3 meters right of the arete.
Sector #1
1
2
3
4
5
Sector #1 4 / 5
  • Sitt start under "aretekanten" till vänster om känslig sak.vänsterhand på bra list, höger hand på formation. Följ tunn sprickformation för sedan dra till höger och avsluta i triangelgreppet.
  • To the far left on the wall left of the arete. Up via big trianglehold.
  • Stand. Straight up to the right of Känslig sak. Avoid Triangle hold of Känslig sak, and ledge to the right.
  • Ståstart. Klättra upp i den grunda diederformationen. Slut på Stora hyllan.
  • Dyno up to the ledge with LH side crimp on the arete, RH on low crimp list. Stand on top.
Sector #1
1
2
Sector #1 5 / 5
  • Don't know how and grade but there is surely something to climb here. Abit high.
  • Don't know how and grade but there is surely something to climb here. Abit high.

There are 3 routes that have not yet been drawn on a topo image. See full list of routes from Sector #1 .