-
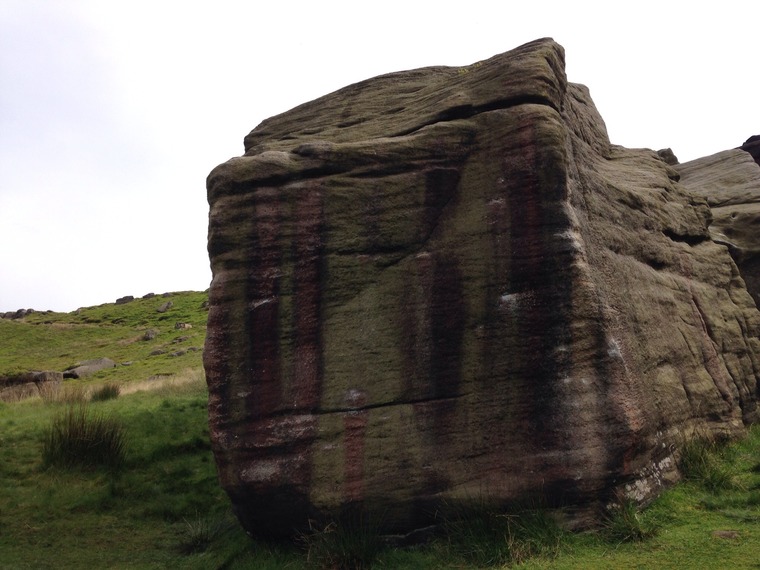
The satisfying little arete on its RHS.
CD B6 P10
-
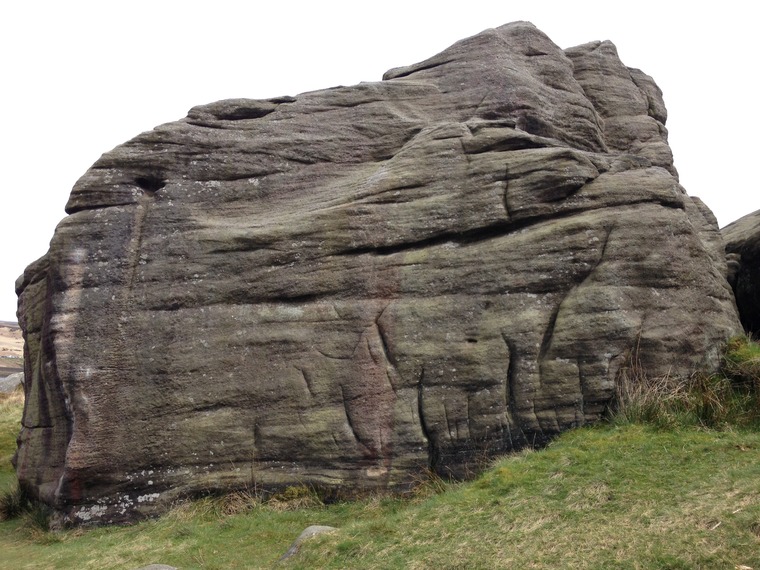
The wall just right of the arête - Gain the slot midway up then latch the top.
CD B6 P11
-
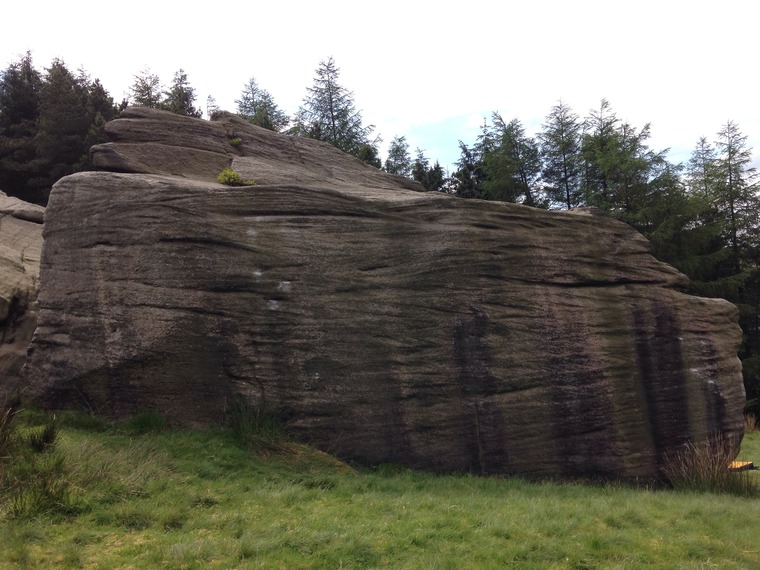
Climb the wall to slots then reach high to slopers and top...
CD B6 P12
-
Climb into the slight depression from the left.
CD B6 P13
-
Since the 'square' pebble has been broken this may not have been climbed and is probably far harder than it was. No grade given in the most recent guide... CD B6 P14 (Grade given 6c/V9 or 7B+/7C).
-
The blank wall is a 'dynamic project'
CD B6 P15
-
The wall around the arete to the left of Splashdown
-
SDS from the arete up via the crimps to the left aka The Hurricane... Is a project in CD guide.
CD B6 P16a (See the descliption).
-
From the top of Splashdown traverse left around the arete and along the breakline eventually finding a pocket then go up.