-
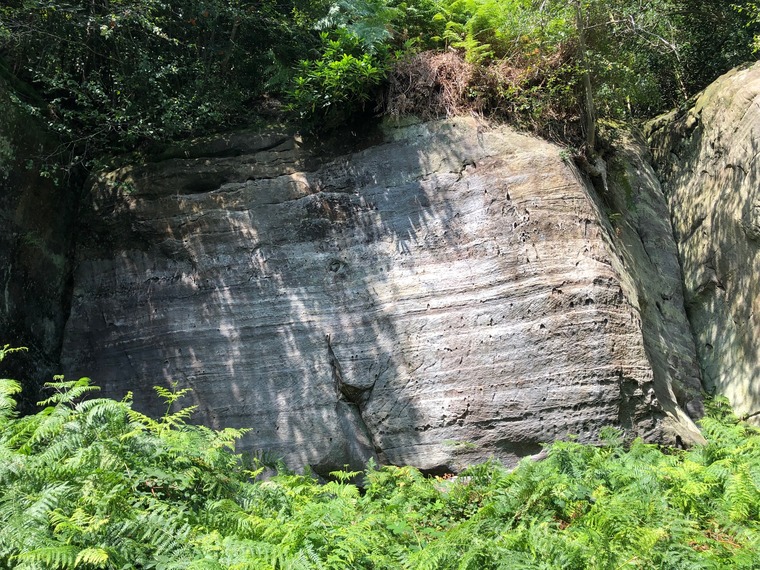
Climbs the centre of the face via the large hole. Finishes topping out. Due to the vegetation at the top, it is common for a knotted rope to be used to get over the top.
-
Climbs the wall to the right of Hypersonic to a good crimp at mid height. May be possible to extend but will be very hold. Update - Good crimp has now broken so no obvious finish hold.
-
The sit start to patience, not using any holds from Hypersonic. Update - Good crimp has now broken so no obvious finish hold.
-
Rarely climbing highball climb to up the right bulge/arete. Usually done as a top roped route.