-
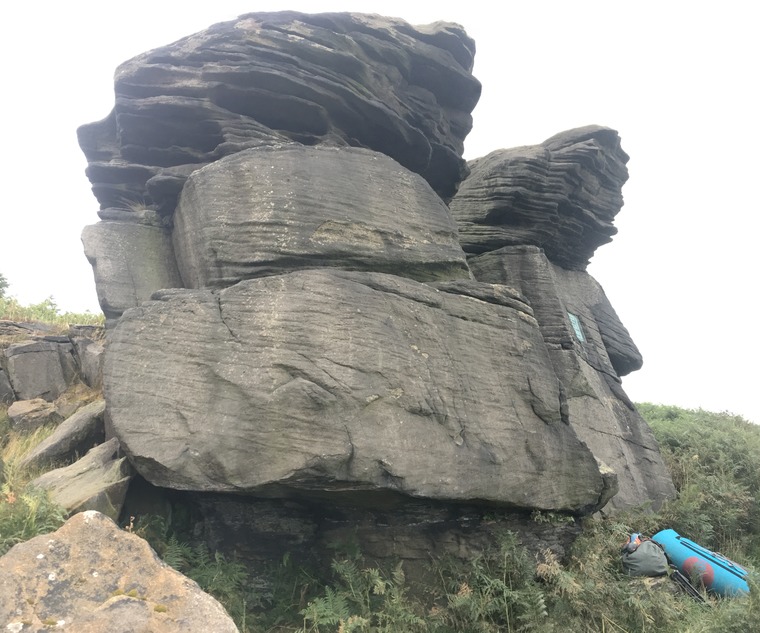
Climb the slab through the plaque and veer left to top out the roof. The roof Direct would be far harder and require a good group of spotters!
-
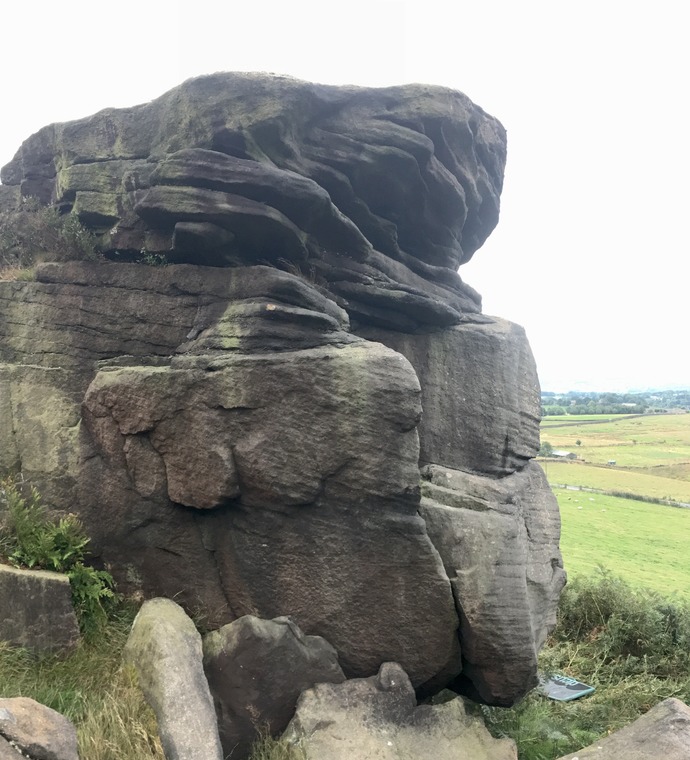
The bulging flake to the right of the plaque
-
The jam is unnecessary but available if you’re into that kind of thing.
-
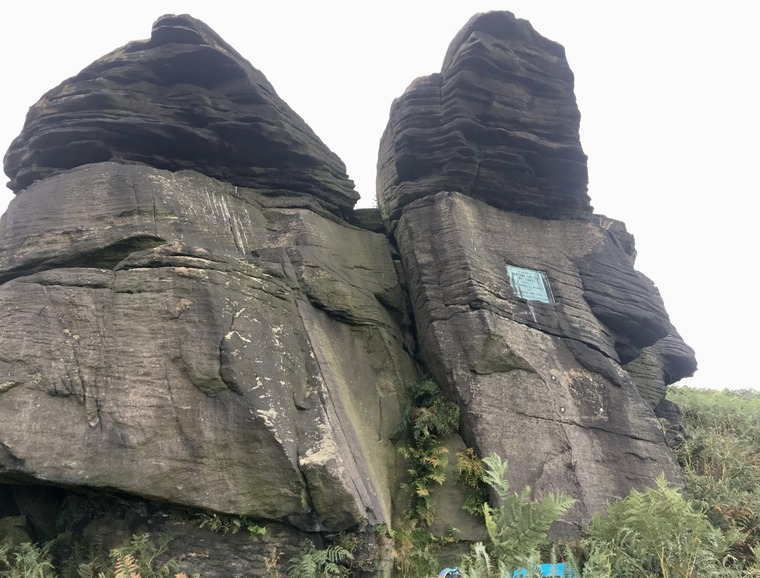
SDS. Limited description for this online and in older guides. One presumed that it takes on the left side of the overhangs here without use of the wall where Beagle Flake is.
-
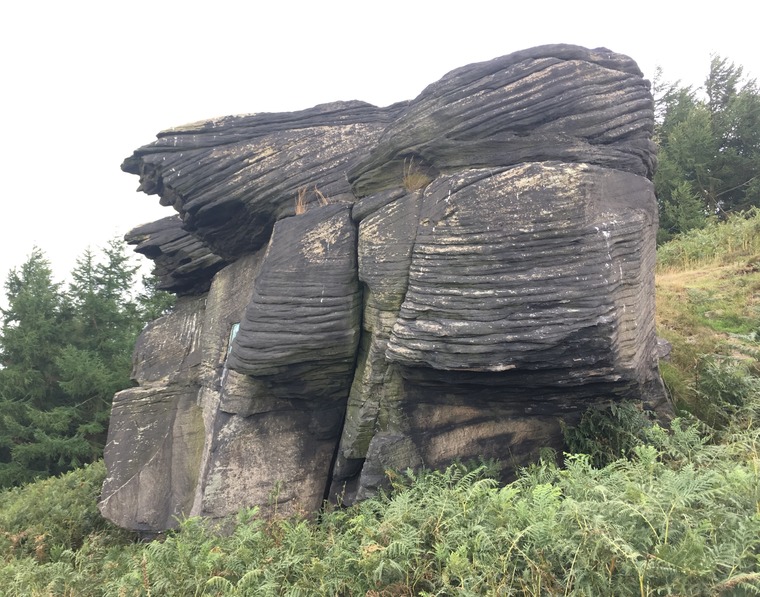
SDS just right of right of Teacakes. UP wall using undercuts and crimps to the break. Right to top-out past mega-jug.