-
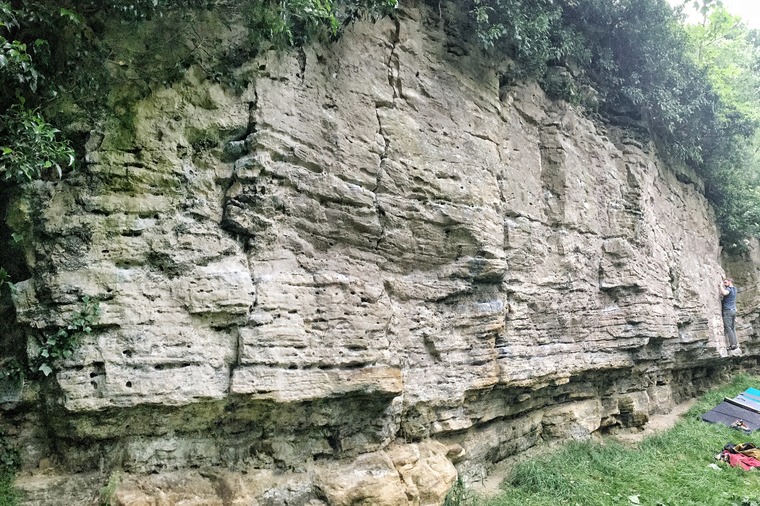
Traverse from just left of the First Crack accross all three sectors finishing just before the 'chunder' and CD B3 P7.
CD B1 P1
-
Traverse from just left of First Crack finishing at or up the problem just right of the arete (CD B1 P14).
CD B1 P2
-
All the way to the top if you dare.
CD B1 P3
-
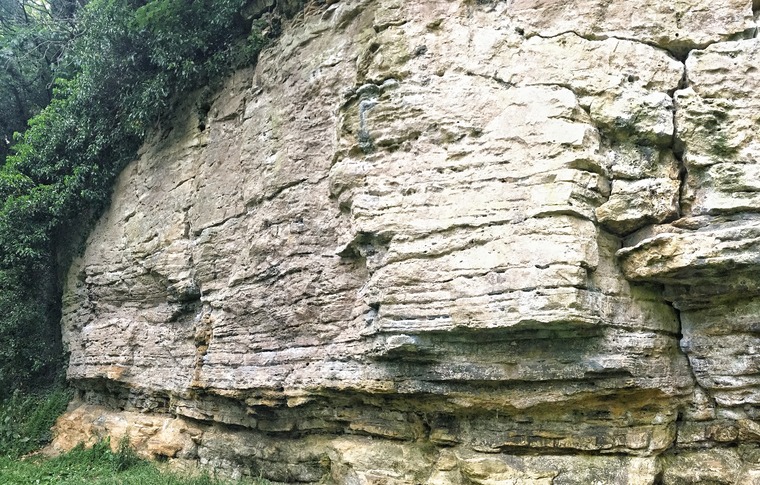
The second crack
CD B1 P4
-
The fingery Wall between 2nd Crack and 3rd Crack.
CD B1 P5
-
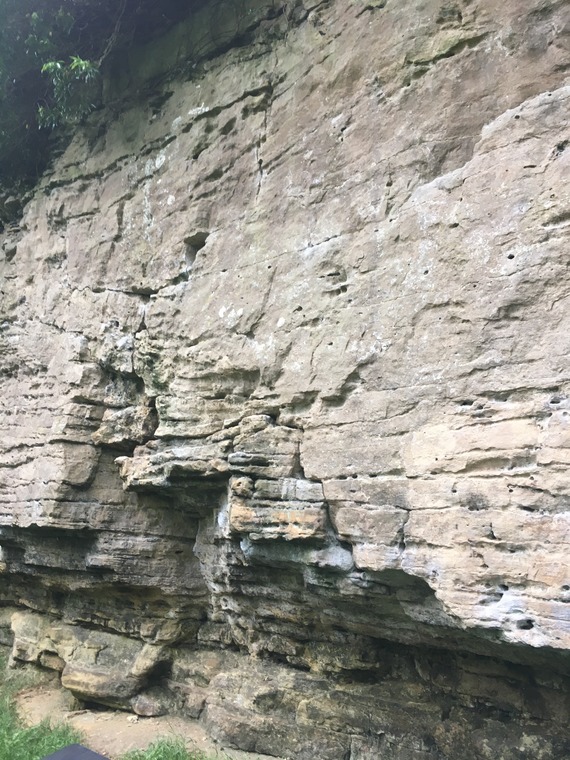
Follow the third crack up then up the wall.
CD B1 P6
-
Starting at 3rd Crack Traverse into and up the shallow corner
CD B1 P7
-
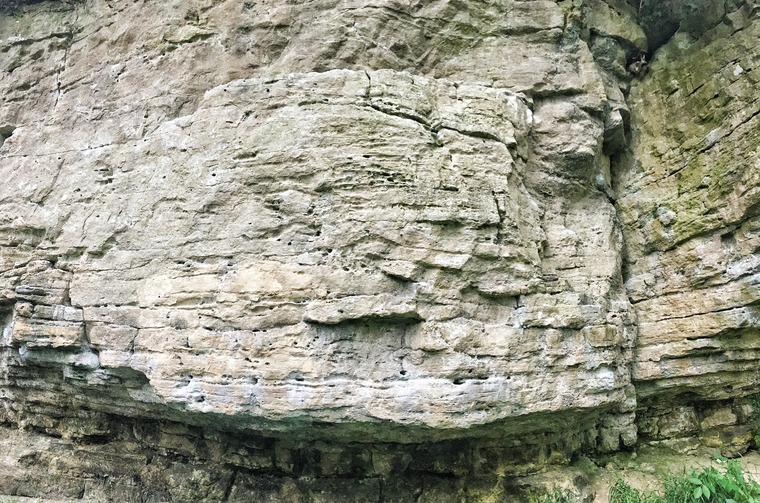
Climb the shallow Corner
CD B1 P8