-
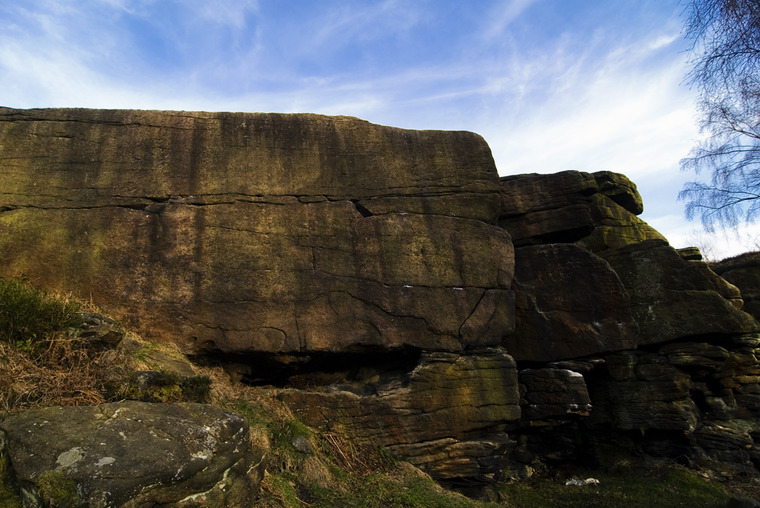
Start up Lurcher and finish up Lurch.
-
Traverse the high crackline to the arete, drop down and traverse the shorter breakline back on yourself.
CD B13 P5 & TC A13 P1
-
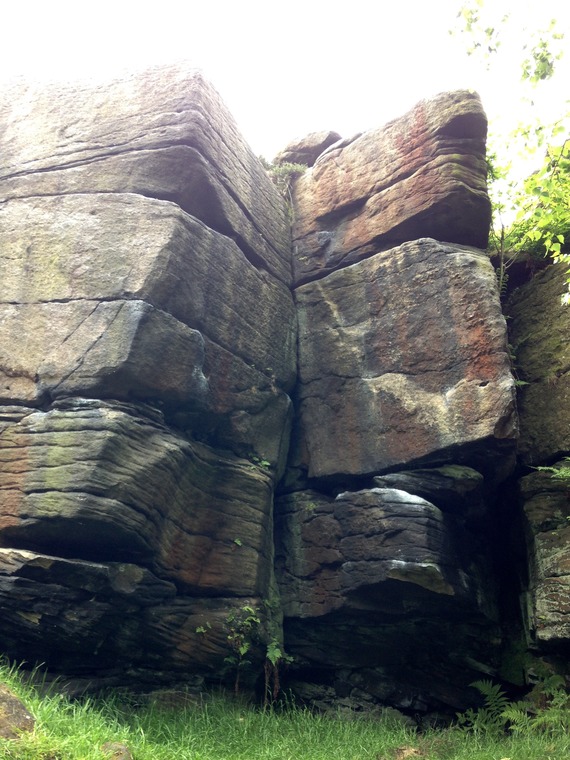
Go dynamic to the top via the cracks.
CD B13 P6 & TC A13 P2
-
committing due to uneven ground.
-
Start on Lurch, finish up Lurcher
-
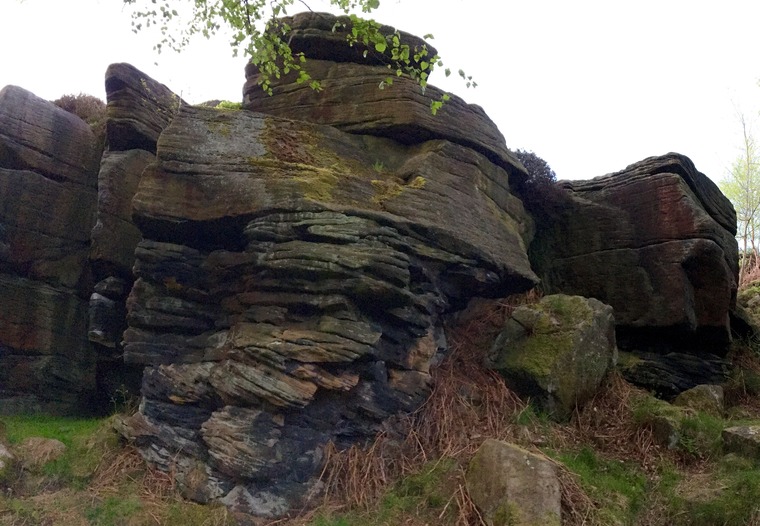
From the large slot gain the hole and crimp out right to gain the top.
CD B13 P7 & TC A13 P3
-
The wall just left of the arete to a committing mantle.
CD B13 P8 & TC A13 P4
-
The right arete climbed on its LHS
CD B13 P9 & TC A13 P5
-
The faint rib feature on the RHS of the corner
-
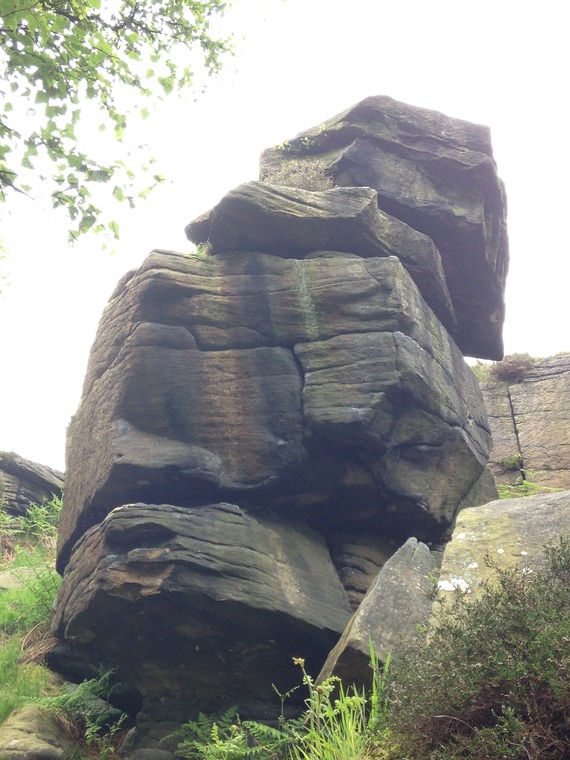
Climb the Prow feature from standing.
No bridging and no wall to the right.
CD B13 P14