-
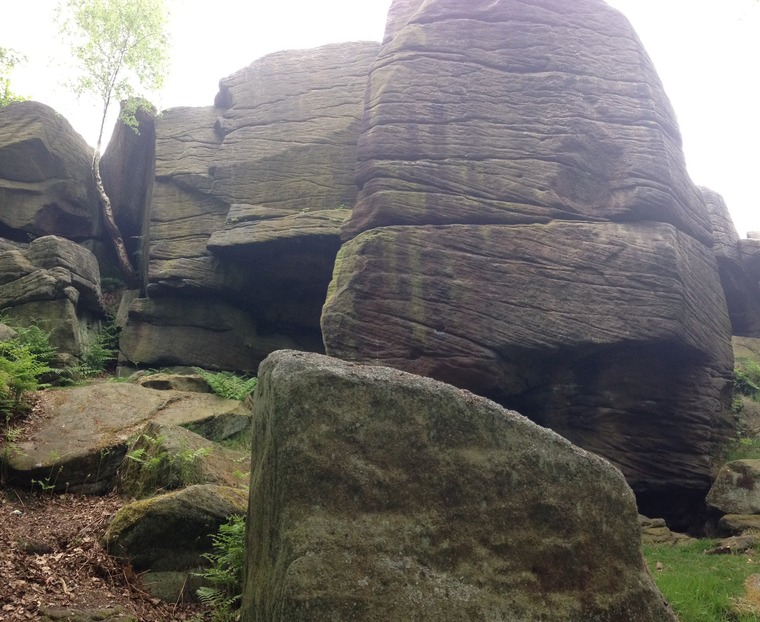
Climb the layback edge up the block in the corner behind the tree.
CD B21 P1
-
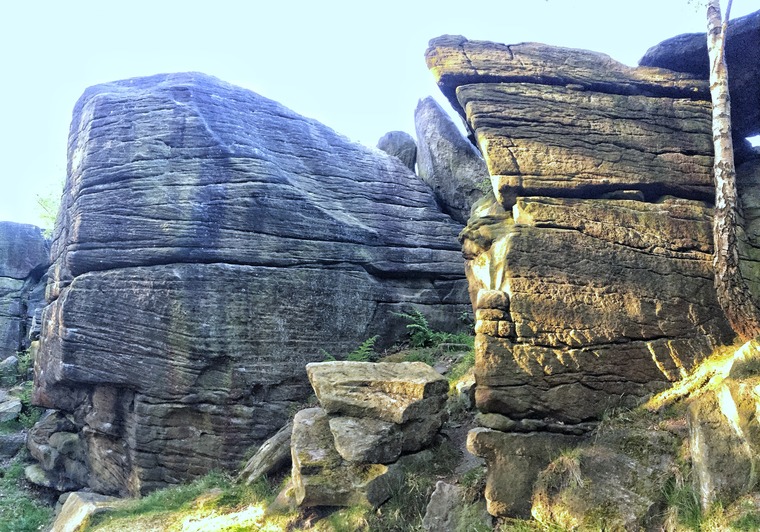
Climb over the buldge on the left arete and up without the ledge or bulge out left.
CD B21 P2 & TC A24 P1 (topo 2)
-
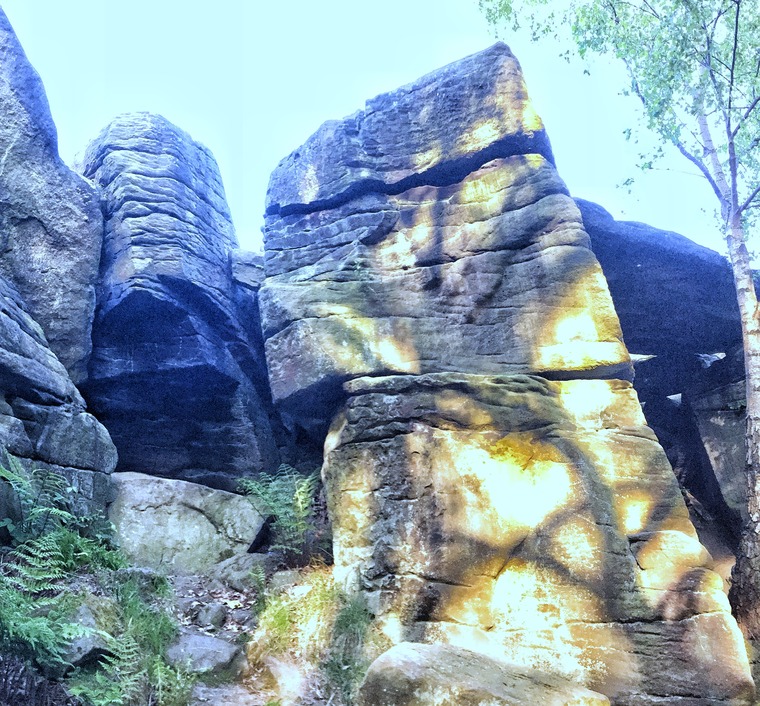
Climb over the roof and up the flakes and features.
CD B21 P3 & TC A24 P2
-
Climb over the roof and up the rippled wall above.
CD B21 P4 & TC A24 P3
-
Follow the chipped holds up the arete to a committing finish.
CD B21 P5 & TC A24 P4 (topo 2)
-
Chipped highball wall just right of the arete.
CD B21 P6 & TC A24 P5
-
The right highball arete via chips.
CD B21 P7 & TC A24 P6 (topo2)
-
The chipped holds from the rib to the scoop.
CD B21 P8
-
AS for scoop direct but eliminate the helpful chipped holds.
CD B21 P9