Sector 3
1
2
3
Sector 3 1 / 14
Sector 3
1
2
Sector 3 2 / 14
Sector 3
1
2
3
Sector 3 3 / 14
  • weird start to great rock, a stick clip is nice, 3 bolts
  • starts on the ledge across from "slugs", good climbing on solid holds. 4 bolts
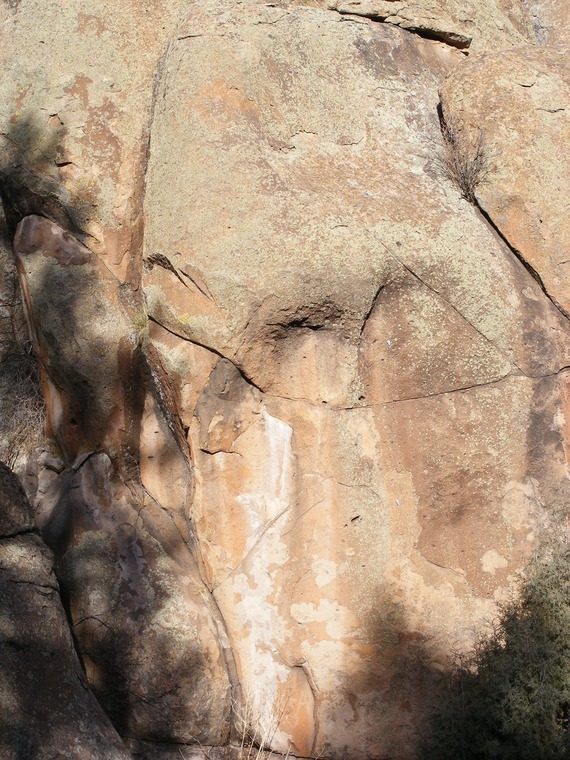
  • I only post this route as a warning. Holds have broken and 2nd bolt is pulling out, so when you're hanging on it wondering why this 10 is so hard, don't look up at the 1/4" gap that keeps growing between the rock and the hanger.
Sector 3
1
Sector 3 4 / 14
Sector 3
1
2
3
Sector 3 5 / 14
  • new route between bad rap and animosity. climb a seam to a ledge/scoop and a fragile, esoteric topout, 5 or 6 bolts
  • climb crimps to pockets to more crimps, 3 bolts
  • stick clip is nice, 4 bolts
Sector 3
1
Sector 3 6 / 14
  • thin start and a mantle to 3rd bolt, stick clip is nice, 3 bolts
Sector 3
1
Sector 3 7 / 14
Sector 3
1
2
Sector 3 8 / 14
  • the easiest face just right of the big Hueco Wall. 4 bolts
  • "Pumping Huecos" or "Huecos Rancheros" maybe Doug Ranck could fill us in?
Sector 3
1
2
3
Sector 3
1
Sector 3 10 / 14
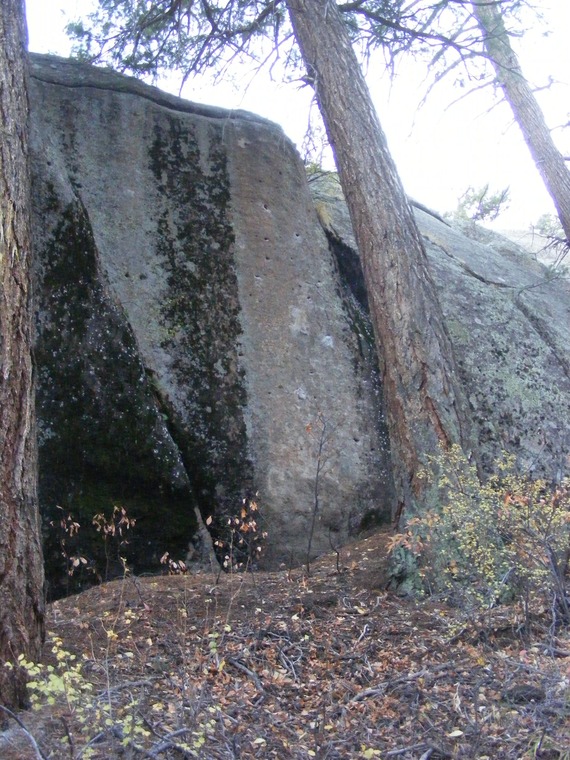
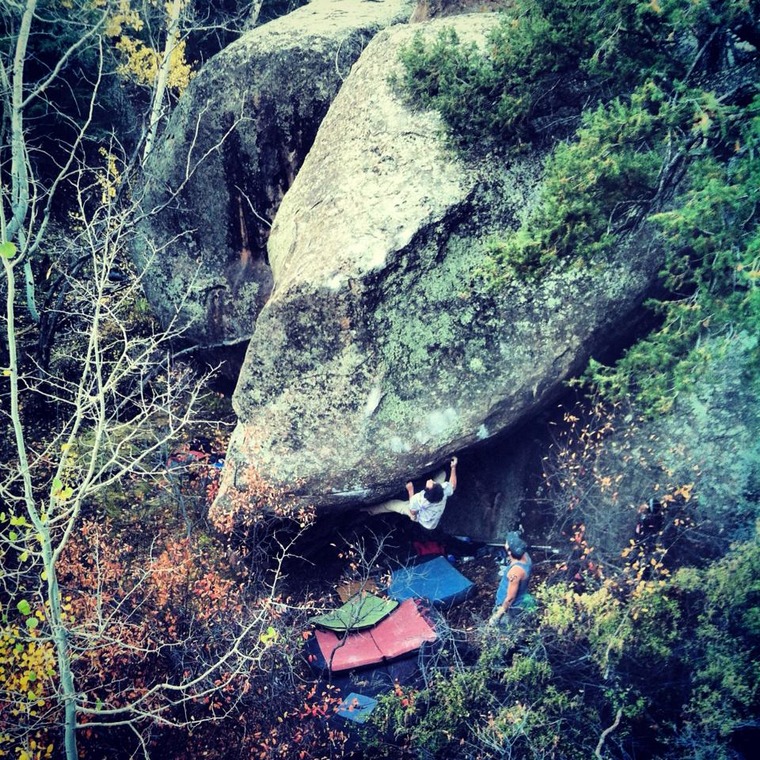
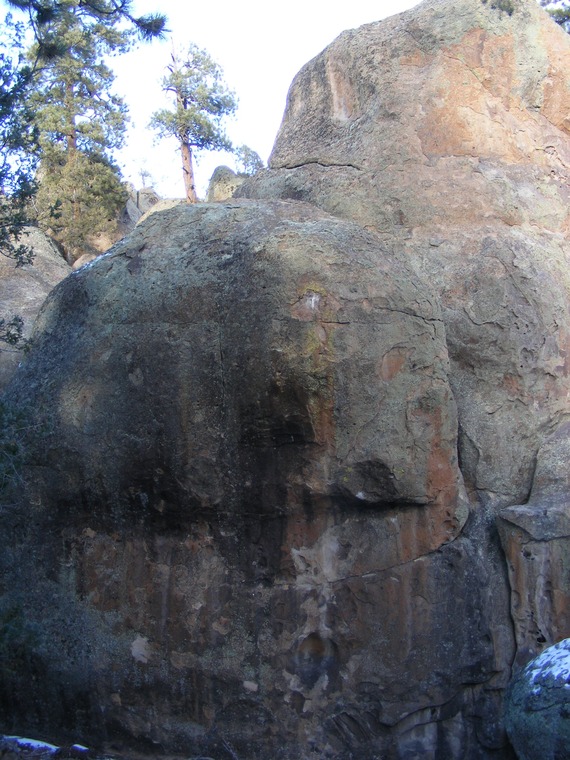
  • Just below the hueco wall to the west, SDS on the rail, move through good holds in the overhang and the crux getting onto the slab, exit left. FA Chris Schulte
Sector 3
1
Sector 3 11 / 14
Sector 3
1
Sector 3 12 / 14
  • start in the scoop and move left past the bulge to the slab, anchors are high if you're short. 3 bolts
Sector 3
1
Sector 3 13 / 14
Sector 3
1
2
3
4
5
Sector 3 14 / 14

There are 5 routes that have not yet been drawn on a topo image. See full list of routes from Sector 3 .