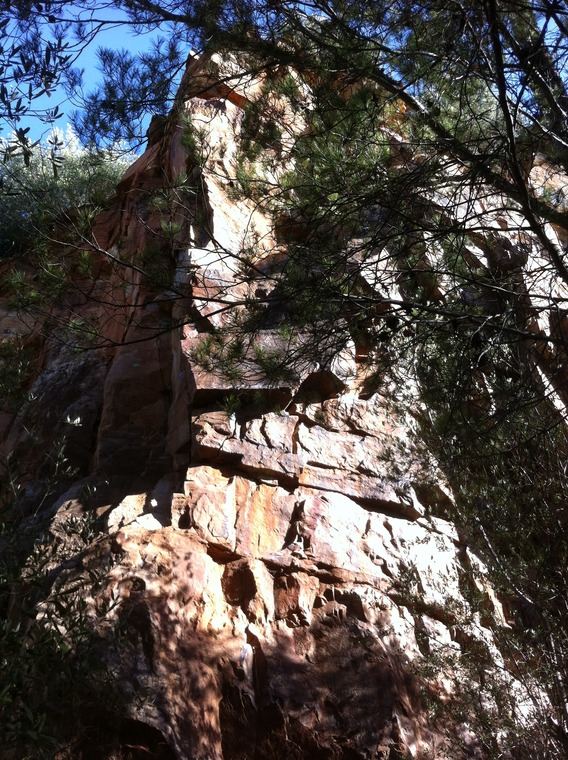
Car Crash Quarry
1
2
3
4
5
6
7
8
9
Car Crash Quarry 1 / 11
  • Start matched on flexy jug in corner left of ELV and traverse right to the start of PO.
  • A training link. Starts on loose jug left of graffiti left of The Electric Lavender Vacuum Cleaner then traverses right to finish up all of Perceptive Orifices with no rest.
  • Start to the left of The Electric Lavender Vacuum Cleaner. Highball to second bolt of ELV then finish up this. An interesting sequence down low!
  • Start at break between space in graffiti. Straight up using crimps then left to juggy side pull. Up this to second bolt and straight up to edge of flake. Don't under-estimate the seriousness of the second bolt!
  • Up ELV to its 2nd bolt then hard right to ledge past RH edge. Rest for a couple of hours, then break right into Receptive Orifices and finish as for this.
  • Starts to the right of The Electric Lavender Vacuum Cleaner. Straight up using tiny crimps!
  • Hands on flake, feet on wall. A popular top rope!
  • Steve showed me an epic dyno today that made my mouth drop! Start left hand on jug, right hand behind back. Fly to second big ledge up high. Catch with left hand.
  • Straight up to the chains using the top-side of flake. A popular free-solo.
Car Crash Quarry
1
2
3
4
5
6
7
8
9
10
11
12
Car Crash Quarry 2 / 11
  • Start matched on flexy jug in corner left of ELV and traverse right to the start of PO.
  • A training link. Starts on loose jug left of graffiti left of The Electric Lavender Vacuum Cleaner then traverses right to finish up all of Perceptive Orifices with no rest.
  • Receptive Orifices to 2nd bolt then right crossing PO and straight up from break past average LH sidepull. Finish at Gonads chains.
  • Past two bolts to the right of the large flake using a thin finger crack. Connects Perceptive Orifices at the third bolt and finish up this. A technical sequence.
  • Very contrived. Stick-clip Receptive Orifice's first draw, then climb the blank wall between Receptive Orifices and Perceptive Orators, using their crack's for hand and foot holds.
  • Start up Perceptive Orators then break left into Receptive Orifices after the first bolt and finish up this. Another link.
  • Up Perceptive Orators to the third bolt, then right to finish as for Elephantiasis of the Gonads.
  • The obvious crack to the right of Receptive Orifices past 3 bolts. Has seen a lot of hold breakage in it's lifetime, resulting the grade to flutter between 22 and 24. Currently a 23.
  • The line to the right of Perceptive Orators through underclings to horizontal scar, then finish up Gonads LHF to independent chains shared with Elephantiasis of the Gonads.
  • Up Elephantiasis of the Gonads to third bolt then break left from horizontal match into obvious side pulls to the chains.
  • Up Elephantiasis of the Gonads to 2nd bolt then left into Perceptive Orators and finish up this.
  • The thin line to the right of Perceptive Orators past three bolts.
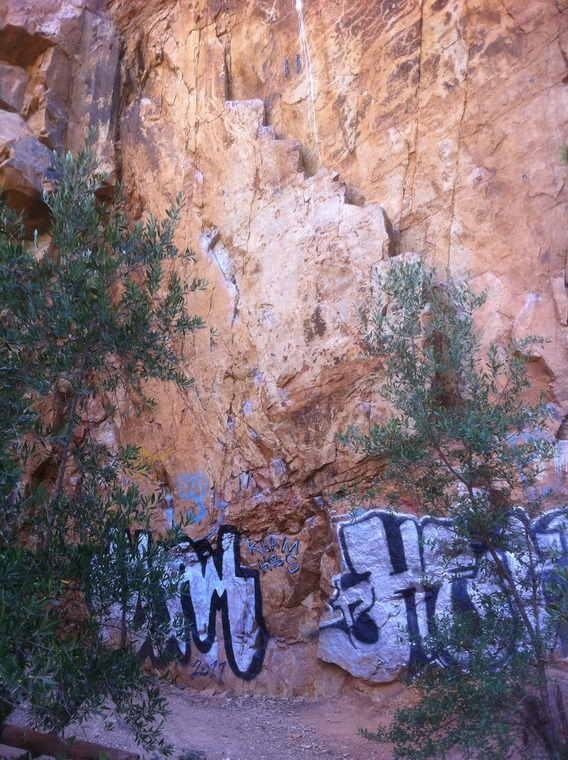
Car Crash Quarry
1
2
3
4
Car Crash Quarry 3 / 11
  • The thin line to the right of Perceptive Orators past three bolts.
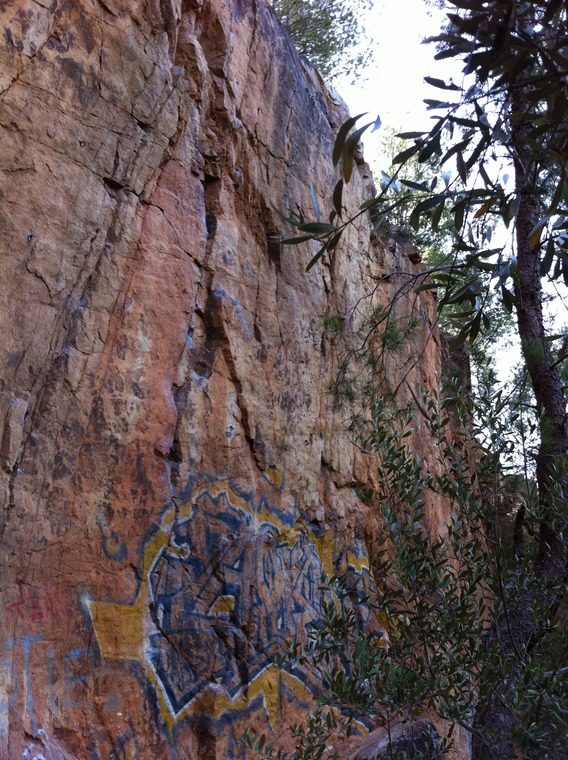
  • The line without a lower off. Starts as for Elephantiasis up to second bolt then breaks right to independent bolt then up this. Once at the top either drop back down to last bolt or finish at Mercy Street chains. Can also start in the middle of Elephantiasis of the Gonads and Mercy Street. Hold breakage at the start (chossy rock) and no protection leads into the crack. Can be climbed with a long sling from the bolt above.
  • The line without a lower off. Start in the middle of Elephantiasis of the Gonads and Mercy Street. Hold breakage at the start (chossy rock) and no protection leads into the crack. Can be climbed with a long sling from the bolt above.
  • The right hand line on the graffiti wall past three bolts. A very technical and strong sequence!
Car Crash Quarry
1
2
3
4
Car Crash Quarry 4 / 11
  • Starts with graffitti and ends up being a bit of a joke. Start left of graffitti left of ELV on a jug and traverse right all the way across the wall finishing in the gully right of Mercey Street. Intersect Mercey Street above it's 1st bolt and down climb that routes start to continue trending right to the finish. Rock deteriorates in the last 5m.
  • Climb RO to it's 2nd bolt then traverse right across PO, Gonads and through a decidedly thin sequence to join Mercey Street at it's good sidepull between it's 2nd & 3rd bolt. Finish as for this route.
  • Climb the first two BR's of Percetive Orators then head right across the scar on AGW and clip the bolt out right on Elephantiasis. Climb into this route then right again into Gonads RHV. Climb the last two BR's of this route and finish at the chain of Mercey Street.
Car Crash Quarry
1
2
3
4
5
6
Car Crash Quarry 5 / 11
  • Start a couple of metres left of Felch me just right of the arete. Make some reachy moves through a technical sequence to gain the ledge. Head up and directly over the roof clipping a bolt above the lip and finish at Felch Me's chains. A powerful sequence through the roof.
  • From the first bolt on Felch head straight up to seam at Felch's third bolt.
  • The best route in the area! Start 2 metres right of the arete. Head up to a high side pull then traverse left to arete. Up to a stance then balance r to thin seam. Continue right through overlap and trend left to chains.
  • Start in the corner right of felch me following the crack up to the chains.
  • Start as for original but once at the rood head directly over roof and up left of the slab keeping out of the right hand corner. A powerful sequence over the roof!
  • Mark Simpson put this climb up. He quoted it "A classic in the 10th dimension". However, the climb is now boltless. The single chain has obvious signs of weathering. The rock quality appears to be quite poor. Taste The Pain is a climb which is screaming to be re-bolted, re-anchored and climbed once again!
Car Crash Quarry
1
2
Car Crash Quarry 6 / 11
  • The obvious wall/roof crack to the left of 'Felch Me With a Crazy Straw Direct'. When the crack ends step right and up to the horizontal then traverse left to arete and finish at chains.
  • Same start as for it's original route. Once at second bolt follow arete to the chains via crack.
Car Crash Quarry
1
2
3
4
5
Car Crash Quarry 7 / 11
  • Start as for Sexy Love Slot and gain the ledge. Traverse left and head straight up arete and small slab above. Once at top traverse right to Sexy Love Slot's chains.
  • Really an 11. Grade not available. . Start on obvious large crack to the right of the arete. Climb the crack then head right at the top to chains on slab.
  • Up Sexy Love slot to first bolt then straight up the centre of the slab to chains. Although this is not an official route, it is the most common climb done on the slab. A mixture of Sexy Love Slot and Wham Bam Thank You Clam.
  • Start directly under the overhang just to the right of Sexy Love Slot. Directly over roof to high first bolt then up centre of slab to chains. The crux is unprotected!
  • Start two metres to the right of Wham Bam Thank You Clam under the high roof. High first bolt just above roof then up corner of slab to chains. Easy climbing once over roof!
Car Crash Quarry
1
2
3
Car Crash Quarry 8 / 11
  • Really a 9. Grade not available. . The unnatractive, chossy corner to the right of Naturalists. Your best bet to get off the route is to trek left to No Mans Land chains!
  • The neglected wall to the right of Wayward Beginner. Re-equiped and back in action. 3 bolts. Two big boulders have been knocked off the route so much safer now.
  • Start to the left of the Arete under the overhang. Clip first bolt, then make a couple more moves and head left and join original line at its first bolt. Finish as for original line. A bit more sustained than its original.
Car Crash Quarry
1
2
3
Car Crash Quarry 9 / 11
  • The wall around the arete from 'Edge of Darkness'. Over an almost impossible mantle!
  • Best climbed independently of No Man's Land. Start 1.5m right of No Mans Land and join No Mans Land above the mantel (the 3rd bolt). No touching Naturalists except to place a side runner or 2 before you start. Tough for the grade!
  • The snaking crack to the right of No Man's Land. Finishes at No Man's Land Chains. Place side runner before traversing to chains!
Car Crash Quarry
1
2
3
4
5
6
Car Crash Quarry 10 / 11
  • Really graded 17. Grade not available. . Follow the original route to rest under the roof. Escape left and under the roof, following the corner crack until the chains can be reached.
  • Starts on edge of path. Head directly up past two bolts to rest below roof. Clip a bolt over roof then up to hard move directly over roof to chains. Keep out of crack to right.
  • The corner-crack between RW and RTAS. Stay in it all the way! FA: Paul Badenoch, Chris Oerman, 2008
  • Up V corner to the right of Des' Dihedral. At the third bolt head directly up over mini roof to chains.
  • Same as for Running to a Standstill to third bolt. Step right onto ledge avoiding the hard move to chains.
  • Technical climbing up the arete one metre right of Running to a Standstill. A bolt plate is need for first bolt. Once above the arete veer right to No Mans Land chains. The third bolt of No Mans Land can be used!
Car Crash Quarry
1
2
Car Crash Quarry 11 / 11
  • Down and right of Eye of the Needle near right hand end of wall lies this 5'9" one move dyno.
  • Begin just right of the arete and make a hard move onto the slab. Once on the ledge Follow the last two bolts and finish at chains on left.

There are 4 routes that have not yet been drawn on a topo image. See full list of routes from Car Crash Quarry .